Last Updated on August 6, 2018 by Laura Coronel
Hi there! I’m the Technical Lead Animator at Treehouse and I’ve been experimenting with VR and real-time game design.
Throughout my career, I’ve done a lot of 3D work in different digital mediums. One important thing I’ve learned is that workflows change rapidly. What’s the “right way” today, likely won’t be tomorrow. However, for the most part, the fundamentals stay the same. This post will cover from high detail asset creation to low-poly game ready for VR. I’ll also be listing various software choices for each step as we go along the pipeline. At Treehouse we focus on the developer more than the artist. Honestly, if you can code, you’re already in high demand for any Indie team looking to create a game. So why not be the superhero of the team when it comes to game development?
It’ll also be important that everyone on the team has a basic understanding of the artist or asset workflow. This post will is broken down into two parts. This first part goes into creation and preparation for detail projects and textures. In Part 2 we’ll expand on what you’ve learned.
Contents
First off, why is it important to understand the creation workflow?
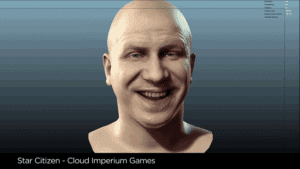
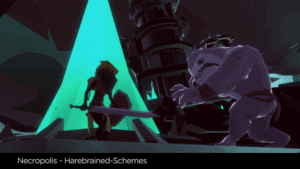
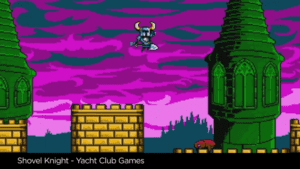
A lot of today’s game audience expect more. Unless you are following a specific art style or low detail look, there is little room for middle ground. Either its AAA game studio detailed, or its purposely styled. For mobile VR games, if you pick a style that’s lower poly, make sure you stick to it. The player will then accept it more than attempting to go for detail. Below is a quality comparison between high and low poly and pixel.
High Poly
Low Poly
Pixel
Low poly can work in VR if designed with good motion and contrasting colors. I’ve yet to see someone do anything pixel related in VR (I’m not even sure how that would work but the door is wide open for someone to take on the challenge). I’m personally blown away by some of the higher VR detailed stuff that’s out there. So how do you take a highly detailed object and make it able to run as a game asset?
So how do you take a highly detailed object and make it able to run as a game asset?
Creating a High Poly Object
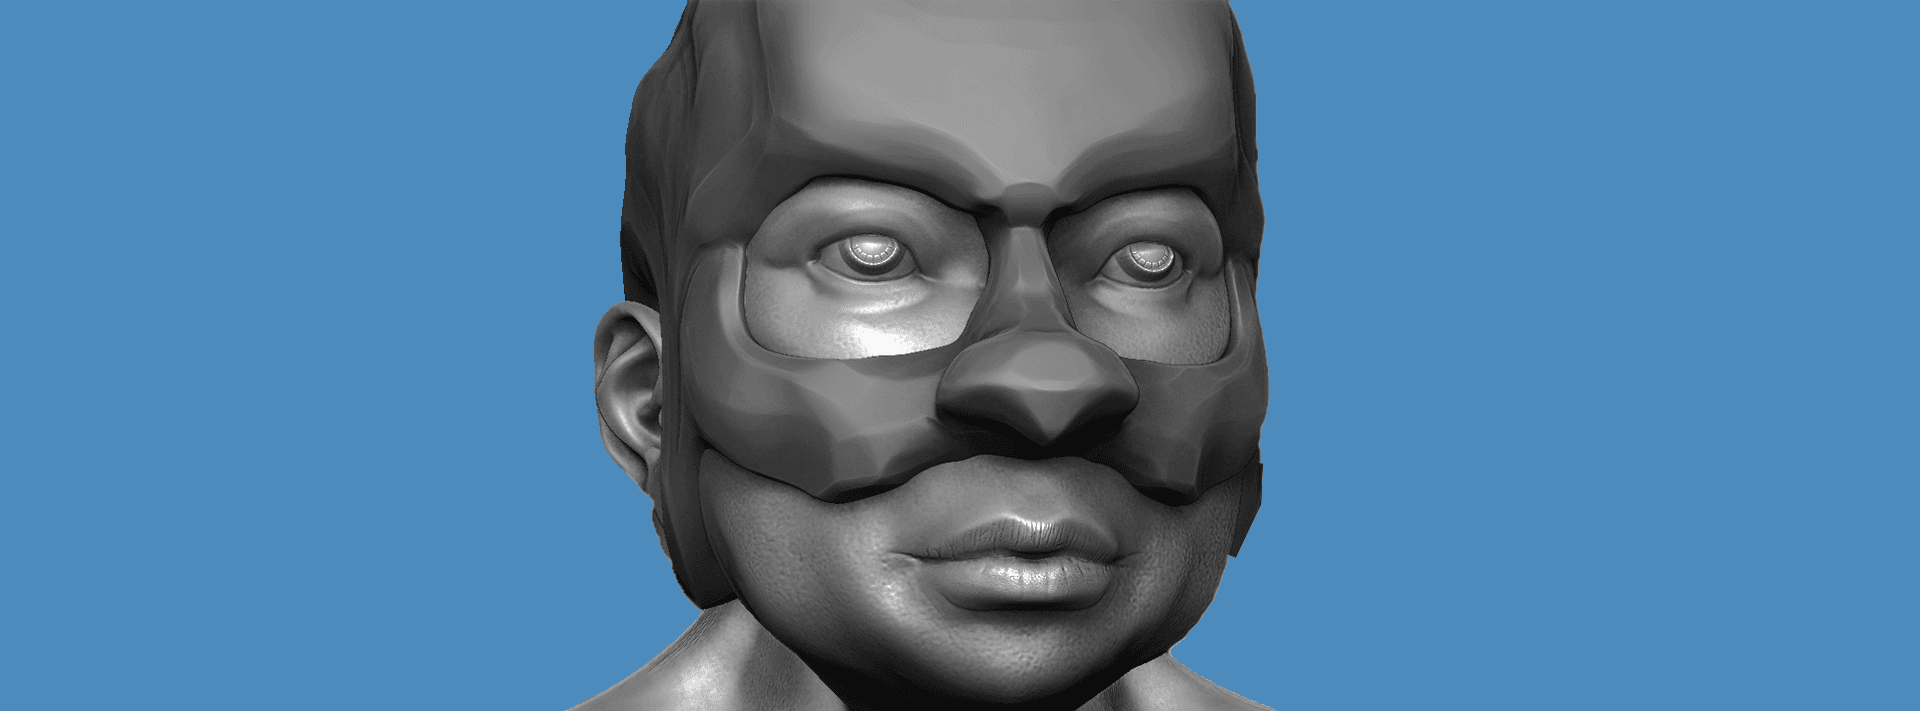
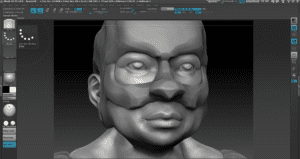
Creating your detailed asset can be done in pretty much any 3D program. Industry standards for games can generally be in Autodesk Maya, Autodesk 3DMax, or Pixologic Zbrush. A lot of the time the base model is created in a program like Maya, and detailed in Zbrush. Just about all game studios have Zbrush somewhere in the pipeline. To help demonstrate this process I’ve started a model of my own to guide us the rest of the way.
To help demonstrate this process I’ve created a model to guide us the rest of the way.
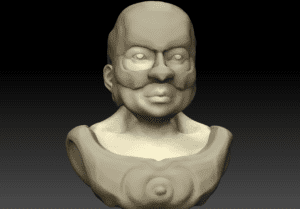
For this demo, the model is not meant to be an animated character. Instead, think of it as a prop in a garden or a “hall of heroes.” The reason I’m highlighting this now is that as we get further along with the production and workflow you’ll need to specify what a model will be used for in the game. To give you a basic understanding of what Zbrush is, here’s a video of me sculpting the asset in Zbrush.
Retopolgy
Now that you have a high polygon model that has high detail, you’re going to need to lower the detail temporarily (don’t worry, we’ll get the detail back before we texture!) In order to set up the model to lower the detail, we need to do something called Retopologizing. This involves taking a high resolution mesh – typically one that has been sculpted like the video of my sculpt in Zbrush – and re-creating it with the basic shape still there, only at a lower resolution.
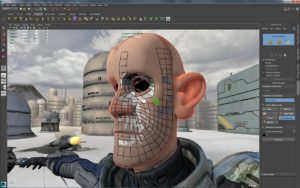
There are several ways of achieving this and most 3D software have tools to help you. If this was going to be an animated model, we’d have to manually do it with tools to help rebuild the polygon “flow” to be best suited for animation. That would create areas for the model to naturally crease and curl where it needs to when in motion. Below are a few examples.
In this Autodesk Maya example below, notice there are loops around the eyes and mouth to let the animator move the face naturally.
Here’s another example of some great animation ready game topology by my friend Ali Noori

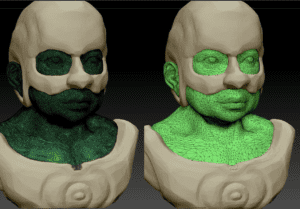
Now let’s look at the automated way of retopologizing. As we’re treating this as a head prop and it doesn’t need to be animating like a character, this technique is fine. With little input from me, you can see how the Zbrush nicely cuts down the polys and creates a lower resolution – or polycount – of my model to use as a base for the baking or detail projection.
UV Mapping
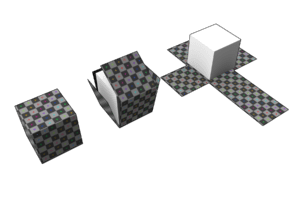
Now we need to get the model ready for UVs. So what are UVs? UVs allow polygons – that make up a 3D object – to have texture or color information applied to them. The UV mapping process involves assigning pixels in the image, to surface mappings on the polygon, The letters “U” and “V” reference the axes of the 2D texture. A UV Map allows the computer to know where in 3D space the 2D texture or color is located. Think of it like dropping wrapping paper around an object, as shown below.
To learn more about UV mapping, I’d recommend checking out this great article that explains asset workflow for games by Treehouse VR teacher, Nick Pettit.
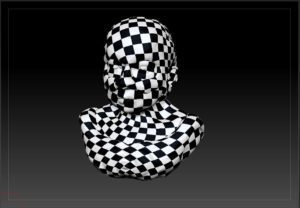
Any 3D program can be used to create UVs. The process is relatively the same with all of them. For now, here’s a quick picture of our model that we’re going to texture in stone and metal. Adding a checkers board pattern on top of the prop helps us see where the seams are.
That wraps up Part 1 of this post, hope you enjoyed the overview! At this stage in the process, it’s important to remember that you’re UV MAPPING the LOW POLYGON model. The high detail is just for the Map baking, which we cover in Part 2. When we’ll also texture the model and get it into a real-time engine, as well as apply the important VR scaling relationship between to the player and the assets, as I explained in Size Matters: Scale Relationships in VR.
Have questions? Follow me on Twitter at @randomjake or share them in the comments below.


