Have you ever needed to replace the same color in 50 places throughout a gigantic CSS file?
It sure would be nice if you could make that color a variable and change it in one place.
Functions and mixins?
Those would be cool too.
I have good news — Sass has ’em all. It eliminates many of the frustrations inherent with CSS, and, some might say it makes writing style sheets fun. So, what are you waiting for‽
First, if you’re confused by the many Sass versions and implementations, a little history may help. Sass was originally written in Ruby. Though Ruby Sass is still available, it has been deprecated. This means it will no longer receive new features and will lose support entirely on March, 26 2019. If you’re installing Sass for the first time, you want the primary implementation, Dart Sass. (And if you need to install Sass on Windows, go here.)
Installing Homebrew
You can install Dart Sass without any external dependencies. However, I’m going to show you installation through the MacOS package manager, Homebrew. A package manager allows you to install, update and remove software packages easily. For example, if a new version of Dart Sass is released, you can update the version on your computer with a single command. This is much nicer than manually tracking and managing each software package you install.

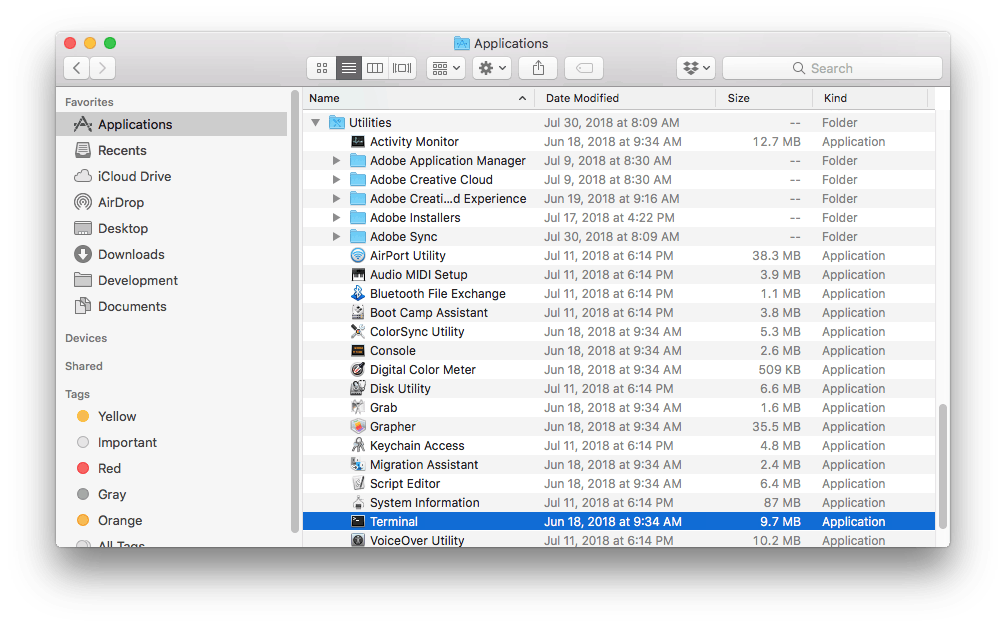
First, open the Terminal program. It’s in Applications > Utilities > Terminal. Alternatively, you can use Spotlight to open the Terminal by holding down the command key, tapping the spacebar and typing “Terminal” into the field that appears.
With Terminal open, copy and paste the following command and press the return key:
/bin/bash -c "$(curl -fsSL https://raw.githubusercontent.com/Homebrew/install/HEAD/install.sh)"
You will see text fill the Terminal window. It may ask for permission to install things or provide information about what it’s installing. For example, it will say:
The Xcode Command Line Tools will be installed
Press RETURN to continue or any other key to abort
Press return to allow Homebrew to fully install. The Terminal may also ask for your password because you are installing software. Type your password and press return to continue. The final message should be something like:
Next steps:
- Run `brew help` to get started
- Further documentation:
- https://docs.brew.sh
Congratulations, you now have Homebrew installed.
Installing Sass
With your Terminal still open, copy and paste the following command and press the return key:
brew install sass/sass/sass
Your Terminal will again fill with text as Sass is downloaded and installed.
Once it has finished, you can make sure Sass is installed by typing:
sass --version
This should output a version number in the Terminal. As of this writing, it gives me 1.10.4.
Congratulations, you’ve installed Sass. You’re now ready to take advantage of all the features that make Sass so lovely to write. We have great Sass content here on Treehouse that will take you from the basics to advanced Sass wizardry.
Interested in a guided curriculum that leads you from beginner to job-ready developer? Check out our Front End Web Developer Techdegree.
Free 7-day Techdegree Trial


