
Last Updated on September 11, 2023 by Laura Coronel

Ever found yourself at a restaurant wishing you could figure out how to split the bill with your friends or family? Building a calculator that can handle that isn’t as hard as you think! I am going to take you through some of what I did to build this calculator out in HTML, SCSS and vanilla JavaScript. Be sure to stick around to the end where I go over some cool, extra features you can easily add to this calculator.
I strongly encourage you to read through this blog post to get a feel for what the calculator can do and attempt to tackle it yourself! This is not a step-by-step guide, but an overview to get the gears turning in your head. This will be both a challenging and rewarding step in your overall developer journey!
You can find the code for this and how to install on our GitHub:
https://www.github.com/treehouse/javascript-tip-calculator
Be sure to read through the README.md file to get it installed correctly.
Live demo link:
https://treehouse.github.io/javascript-tip-calculator
The Application
What was used:
- HTML, SCSS, JavaScript
- Flex-box
- CSS Grid
- SCSS mixins/variables/partials
- High-order array methods
- Basic OOP
It’s recommended you have a good understanding of HTML, CSS(SCSS), and JavaScript to build or follow along with this project. Here are some helpful resources to get you going or if you need a refresher:
HTML Basics:
https://teamtreehouse.com/library/html-basics-2
SCSS/SASS Basics:
https://teamtreehouse.com/library/sass-basics-2
JavaScript Basics:
https://teamtreehouse.com/library/javascript-basics
JavaScript concepts used
https://teamtreehouse.com/library/javascript-numbers
https://teamtreehouse.com/library/javascript-objects-2
https://teamtreehouse.com/library/interacting-with-the-dom
https://teamtreehouse.com/library/javascript-and-the-dom-3
https://teamtreehouse.com/library/javascript-loops
Project Overview
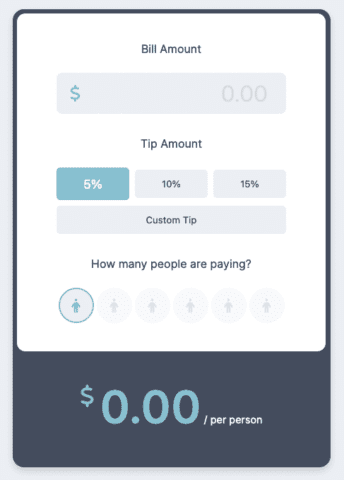
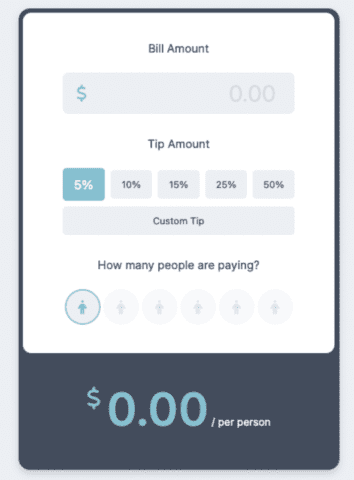
This simple calculator only has a few sections. The most important are bill amount section, tip amount section and the split amount section. We want to calculate the total cost of the bill based off the input the user supplies in each of these sections. Lets quickly go over each section now.
Bill Amount
The bill amount section is pretty simple. It’s just the total cost of the bill. Let’s say I went out to eat some pizza with my friend Brandon. He and I split one large pizza. That pizza costs a total of $12.00. We would write in $12.00 in the bill amount section.
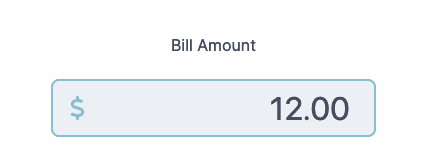
By default, the calculator is set at a 5% tip. So as soon as you put in $12.00 in the bill amount field, you’ll see that the total per person changes as well to reflect a 5% tip.
Tip Amount
The tip amount field is to calculate the tip. By default, there are 3 tip percentage options; 5, 10 and 15. (Stick around to the end of this article to see how we can easily add more options!) There is also a button for the user to enter a custom tip. Let’s add a custom tip since the pizza was so delicious! I’ll add in $5.00.
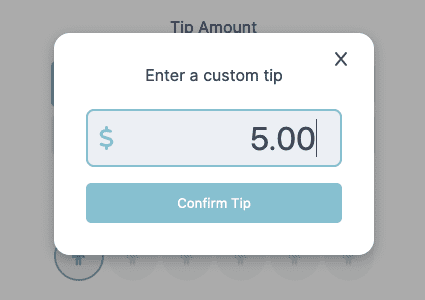
If choosing a custom tip, this section will calculate the custom tip’s dollar amount and add it to the bill total. If choosing one of the percentage values, this section will multiply the percentage into the bill to get the total tip amount. Then it will add that to the bill total to get a total price.
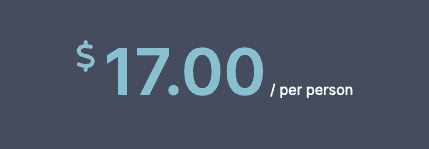
After adding in our custom $5.00 tip, it shows the total being $17.00 per person. ($12.00 pizza and $5.00 tip)
Split Amount
Lastly, we have the split amount section. By default, the bill is set for only one person paying but we have options to split the bill up to 6 ways! (This can be changed easily with one line of code, stick around to the end to find out how!) I’m going to select 2 so that we can evenly split the bill.
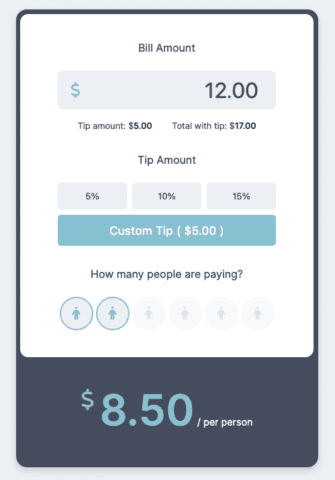
And there you have it. Brandon and I will each pay $8.50. This is our bill ($12.00) with an added $5.00 tip ($17.00). Split between 2 people ($17.00 divided by 2) brings the total per person to $8.50.
Code Organization
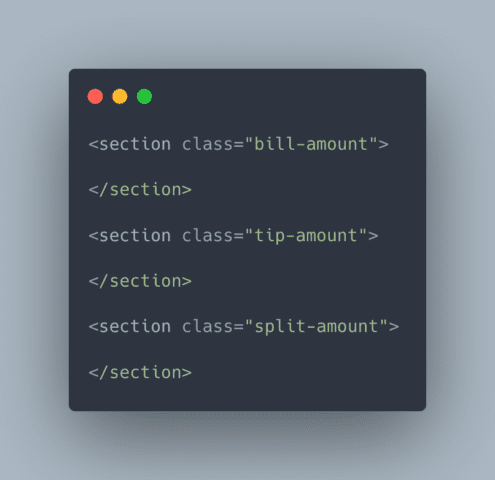
As mentioned above, there were three main sections for this calculator; bill amount, tip amount, and split amount. It only makes sense to make sure our code is structured to reflect that.
HTML Structure
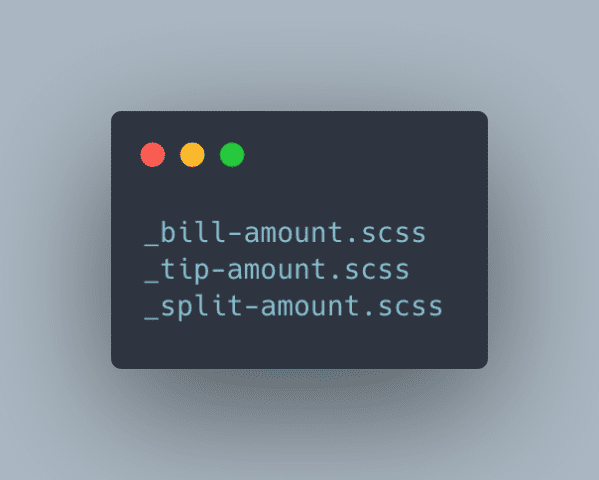
SCSS partial naming conventions
Organization of JavaScript Objects
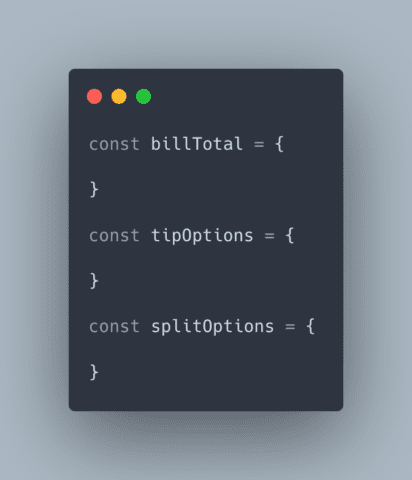
Since this project is pretty JavaScript intensive, let’s focus on how that is structured.
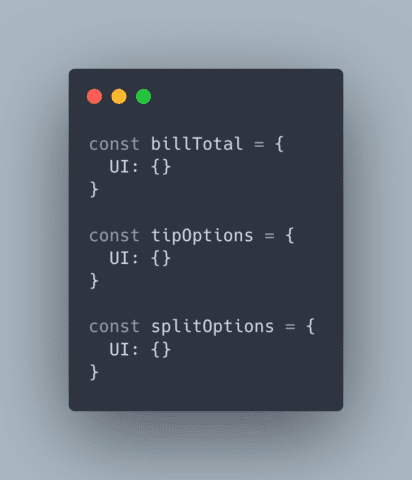
Being that a lot of this application has default data when the page loads, I have a “UI” object inside each of these section objects. Here’s what that looks like:
This approach may be overkill for such a small project but it’s good to keep things organized. The beauty of code is you can do much of the same things in many different ways. So find a way that works best for you! Each of these UI objects contain a build method. It can be accessed like this for example:

Inside this build method, I write all the logic to load the page with the default data.
As for events like when a user types in an amount or selects a tip, I’ve set up an object just for that.

You’ll notice a method (function) for each of the types of events we should be listening for. As well as a listen method. The listen method calls all of the above methods so that all we need to do is call the listen method.
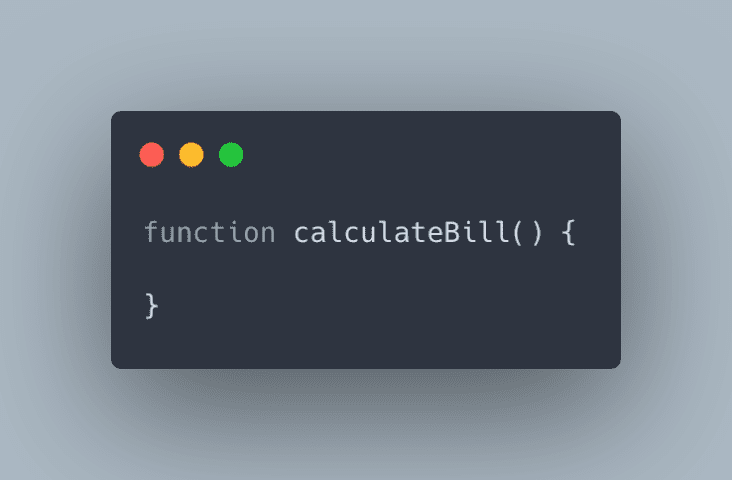
The only thing left to figure out is calculating the total, right? So I set up a function to calculate the bill:
Since the application updates the bill total across many different events, this function is called in all of the listen methods mentioned above. This function calculates the data and spits out the bottom section for price per person.
With a solid understanding of HTML, SCSS and JavaScript, I think this is all the information you need to take a stab at this project! If you attempt it and need help, don’t be shy, reach out to us in Slack! We’d love to help out. Or maybe you attempted the project and crushed it! Share your work with us and the rest of our awesome community of student developers. We’d love to see what you’ve come up with!
Bonus Content
Random Themes

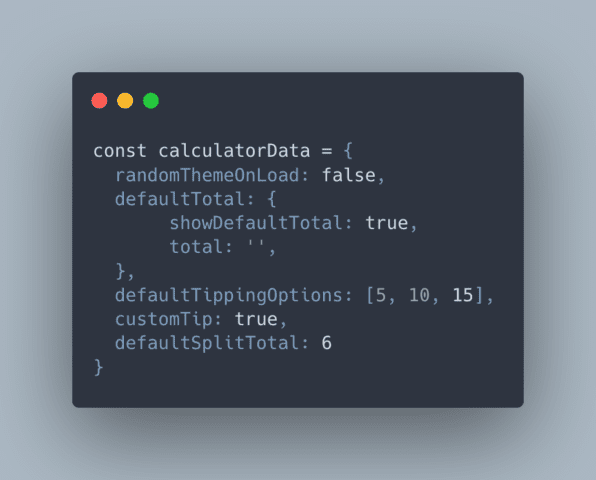
What if I told you this application is already set up to handle multiple themes? Notice at the very top of the app.js file, you’ll see an object for calculatorData. This holds the default data for the calculator.
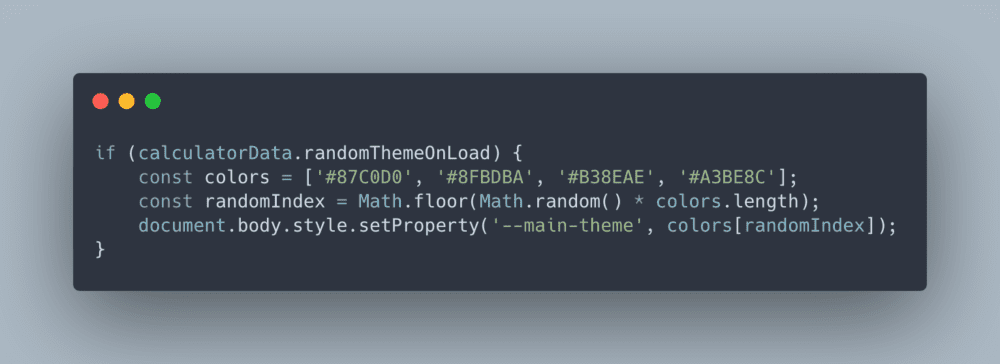
Setting calculatorData.randomThemeOnLoad to true will trigger one of 4 different color options for the calculator when the page loads! This is actually very simple. We first test if calculatorData.randomThemeOnLoad is true or false. If it’s true, we choose a random color from an array of colors and set that as the value for a CSS variable in our styles called —main-theme. I encourage you to take a look through the code and see if you can’t figure out how I did this! If you’ve never heard of CSS variables, I suggest taking a look at the MDN Docs:
https://developer.mozilla.org/en-US/docs/Web/CSS/Using_CSS_custom_properties
Changing the default tipping and splitting options
In the same object we discussed above, you should see defaultTippingOptions. This mimics the options displayed on the calculator when the page loads. Try adding one or two new numbers in that array and checking your browser. Let’s add a 25% option and a 50% option!
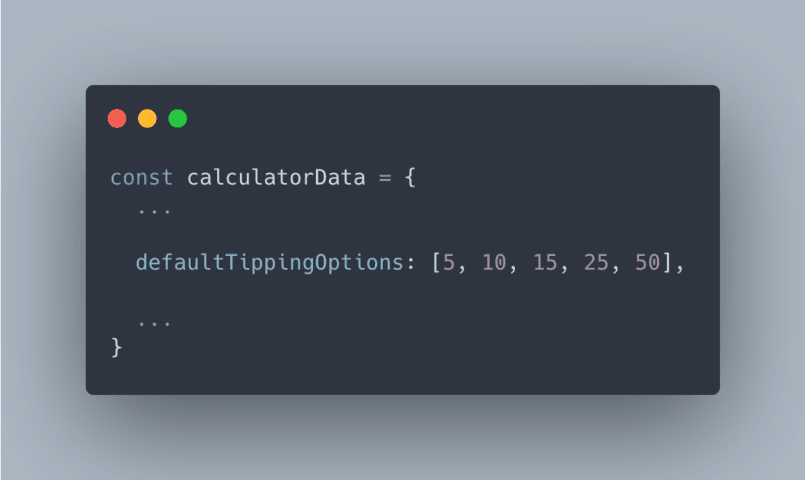
This is done by using the data provided in this array to build out the UI instead of hard-coding this in the HTML. Now the calculator can be updated very easily if needed! You can also change the default amount of splitting options available by updating the data in the calculatorData object. Give it a try and see if you can’t change the amount of splitting options!
If anything above confuses you or doesn’t make any sense, you might need to take a look at these courses that highlight the concepts used in this project. I recommend the following:
HTML Basics:
https://teamtreehouse.com/library/html-basics-2
SCSS/SASS Basics:
https://teamtreehouse.com/library/sass-basics-2
JavaScript Basics:
https://teamtreehouse.com/library/javascript-basics
JavaScript concepts used
https://teamtreehouse.com/library/javascript-numbers
https://teamtreehouse.com/library/javascript-objects-2
https://teamtreehouse.com/library/interacting-with-the-dom
https://teamtreehouse.com/library/javascript-and-the-dom-3
https://teamtreehouse.com/library/javascript-loops
I hope you give this project a go and share your work with the community! Have fun and happy coding!