
Last Updated on July 14, 2015 by Laura Coronel
Contents
What is Ionic?
Ionic is a set of performance-focused, beautifully designed HTML, CSS and JavaScript components optimized for building mobile applications.
Ionic is composed of Cordova, the open sourced part of the PhoneGap platform, Sass and AngularJS.
It allows you to create cross-platform applications meaning you can write your code once and deploy it anywhere; iOS, Android and Windows.
Check out my other post on why Ionic is challenging your assumptions on the Native vs Hybrid debate.
What We’re Building
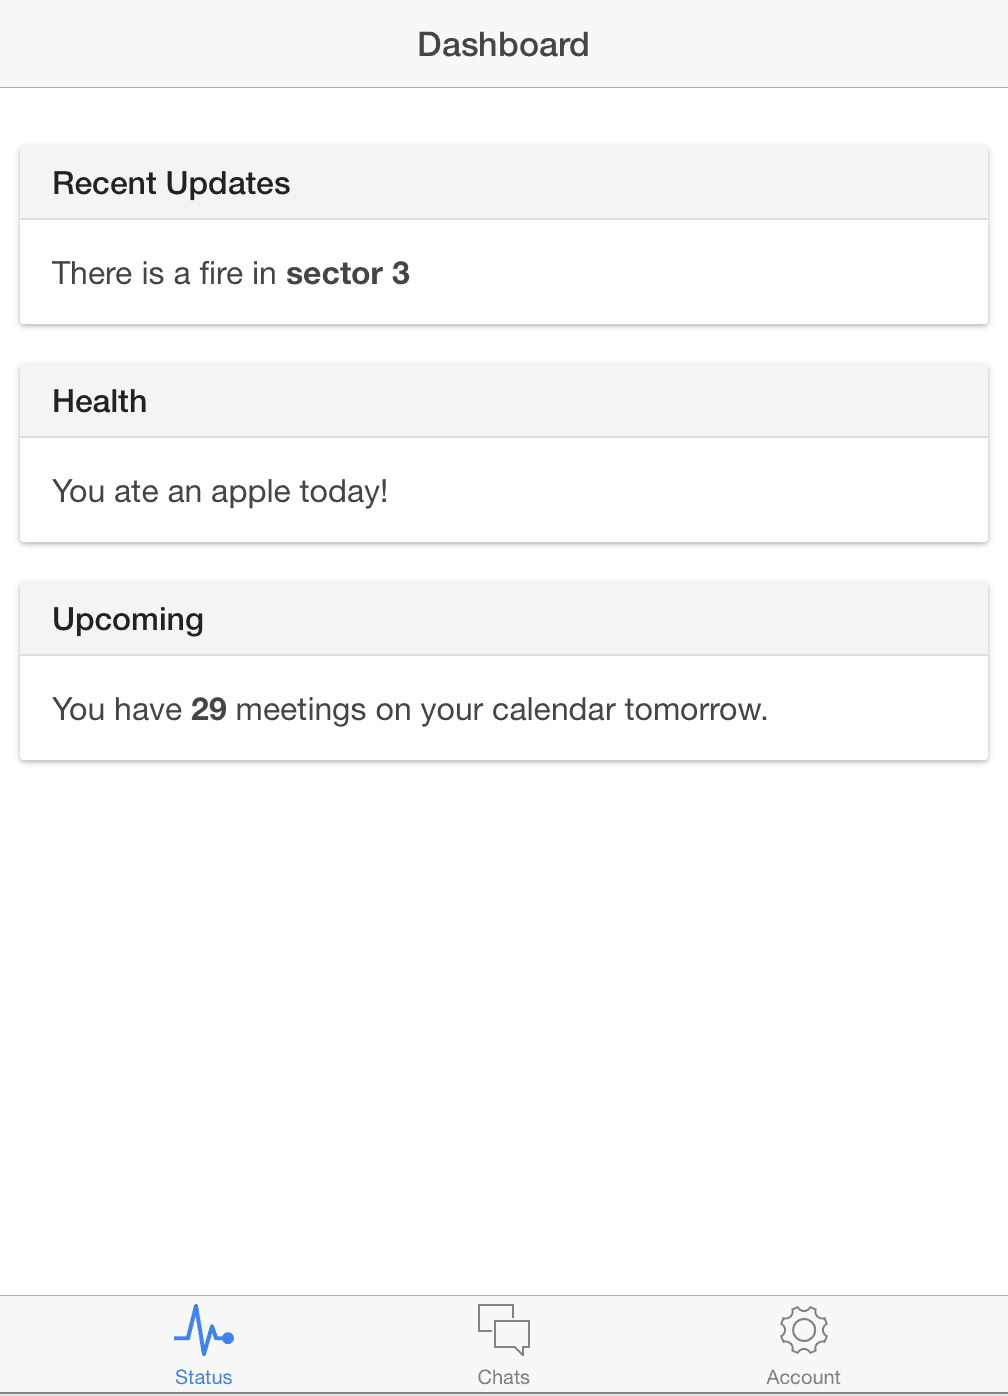
We’re going to go out to the web and pull in the badges on my Treehouse profile and list them like this:
Only that the scrolling is a lot more smooth than this gif!
Prerequisites
Windows
It’s recommended if you’re on Windows for you to use Visual Studio 2015 Community RC. Since Visual Studio 2015 Community Edition is still in Release Candidate phase, your mileage may vary on installing the Ionic Tabs Template to create your project.
For the rest of the tutorial I’m assuming you’re on Mac or Linux. If you get the Ionic Tabs Template installed successfully, you should be able to follow along.
Mac and Linux
You need to have Node.js and NPM installed. Check out the following posts for help if you haven’t done so already.
Installing Ionic Command Line Tools
Still on Mac and Linux, open up your terminal and type:
npm install -g cordova ionic
Creating the Project
To create your project you use the following command:
ionic start <project name> <template>
I’m going to call my project treehouse_badges and I’m going to start with the tabs example project.
ionic start treehouse_badges tabs
You’ll see an output like this with some helpful commands:
Your Ionic project is ready to go! Some quick tips:

 * cd into your project: $ cd treehouse_badges

 * Setup this project to use Sass: ionic setup sass

 * Develop in the browser with live reload: ionic serve

 * Add a platform (ios or Android): ionic platform add ios [android]
   Note: iOS development requires OS X currently
   See the Android Platform Guide for full Android installation instructions:
   https://cordova.apache.org/docs/en/edge/guide_platforms_android_index.md.html

 * Build your app: ionic build <PLATFORM>

 * Simulate your app: ionic emulate <PLATFORM>

 * Run your app on a device: ionic run <PLATFORM>

 * Package an app using Ionic package service: ionic package <MODE> <PLATFORM>

For more help use ionic --help or ionic docs

Visit the Ionic docs: http://ionicframework.com/docs
Then it asks if you want to sign up for some services like Push Notifications or Ionic View, which is a way to share your app with others without going through the Apple or Google App Stores.
Create an ionic.io account to send Push Notifications and use the Ionic View app?
(Y/n):
I’m going to say no for now. And get on with our project.
The Project
Change directory into your Ionic project.
cd treehouse_badges
And there’s already a basic scaffold for your app. We are mainly concerned with the www/js and www/templates folders.
First, let’s start the project and preview it in a browser by using the ionic serve command in the console. You may be prompted an address to serve your app to.
Multiple addresses available.
Please select which address to use by entering its number from the list below:
 1) 192.0.1.100 (en0)
 2) localhost
Address Selection:
If you pick localhost your app in development will be available to view from your own machine, however other people on your local network will not be able to see it (which may or may not be a good idea). If you want to share it with other’s on your network pick the IP address (xx.xx.xx.xx). You won’t be prompted again by Ionic.
Once you’ve selected something a web browser with the tabs, Ionic app gets launched. It also uses live reload, so as you change the files it will update in the browser.
Let’s modify the dashboard (templates/tab-dash.html) to be our list view with all of our badges. Here’s what the original contents looks like…
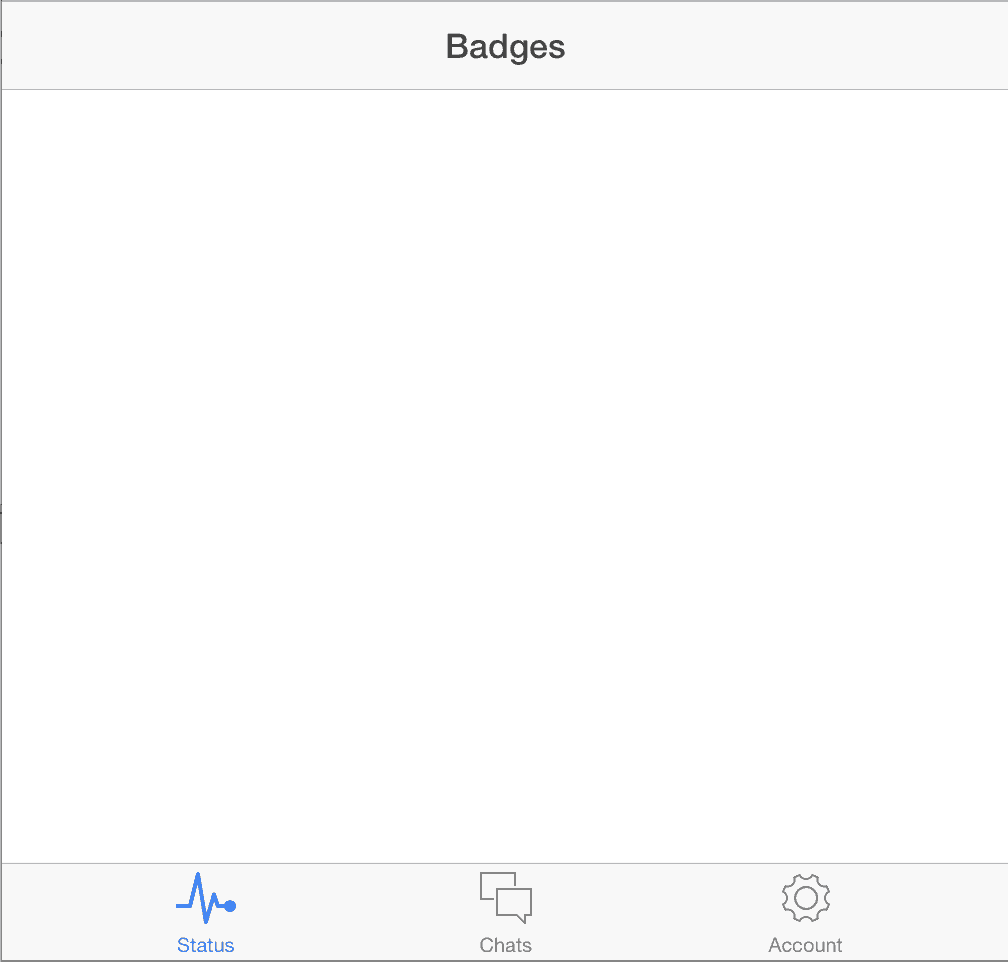
Let’s set the view-title attribute on the ion-view to "Badges". And let’s get rid of all the content inside the ion-content.
It should look a bit like this:
But how are we going to get the badge data? If you go to anyone’s Treehouse profile and add .json to the end of the profile URL you get a JSON representation of the badges the student has taken with a breakdown of points based on topic area. Here’s a sample of mine at http://teamtreehouse.com/chalkers.json.
Let’s open js/controllers.js, in here there are all the Angular controllers for the tab views.
There’s no code in the DashCtrl or the dashboard controller. Let’s use AngularJS’ $http service to get the JSON data. We’ll inject the $http dependency, call the get method and pass in my profile URL, "http://teamtreehouse.com/chalkers.json". On a successful retrieval of information, we want to add the badges array into the $scope. This makes sure the variable badges will be available in our views. While we’re at it let’s remove all the other controllers.
Let’s quickly update the templates/tabs.html file to only include one tab, from this:
To this:
We can alter the title attribute to "Badges". And how about the icon? It says ion-ios-pulse. Let’s head over to Ionic documentation and follow the Ionicons link.
You can type in a word into the search box, I typed in award to look for appropriate icons.
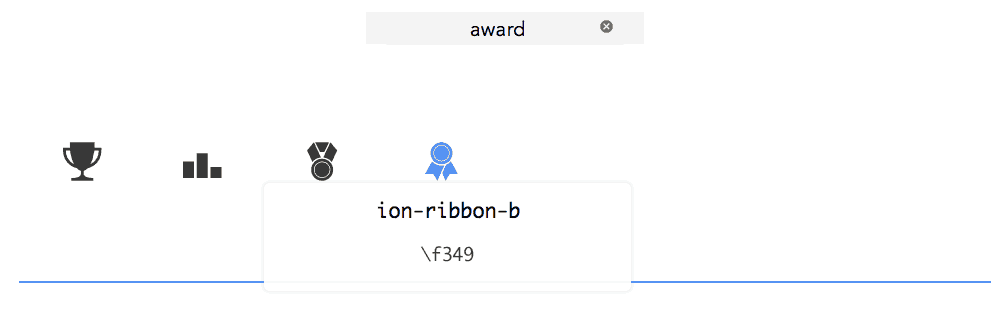
Click on an icon to reveal its name. I like the look of ion-ribbon-b so let’s update both the icon-off and icon-on attributes to equal ion-ribbon-b.
You should have something like this:
![]()
Now for displaying the badges! Ionic has a number of Angular Directives or view components for you to use. To see what’s available head over to the Docs and go to JavaScript. On the left-hand side, you should see Lists.
Copy the basic usage over to your tab-dash.html file and replace items with badgesand item with badge. Replace the contents with {{badge.name}} like so:
We’re getting close!
Let’s add images. We can include an image tag with the ng-src attribute of our badge‘s icon_url.
But when you look at it in the browser, it looks…a bit off.
![]()
Ionic provides CSS to help style components to look more “natural”. Once again, jump into the Docs, CSS this time, and then Lists. There’s an example for thumbnails. You can include the class of item-thumbnail-left or -right. I like the thumbnail on the left.
And there you have it!
You’ve created your first Ionic app getting live data from the internet.
Next Steps
You can take this project further by:
- adding an error handler to the
$httprequest - add the
earned_dateto thelist-item - add a loading message before the web request and hide it once it’s completed.
- remove all references to “Dash”/”Dashboard”
- use the Ionic command line interface (CLI) to add iOS or Android platform to your project and deploy it to a simulator
You can take a look at my solution here.
Whilst we don’t have any Ionic Courses or Workshops yet on Treehouse, we have courses on a lot of Ionic’s dependencies, such as HTML, CSS, JavaScript, AngularJS, Sass, Node.js and much more!


Very interesting post! Thx a lot 🙂
I am trying to install Ionic on Windows 7 machine but getting this error:
gyp verb check python checking for Python executable “python2” in the PATH
gyp verb `which` failed Error: not found: python2
Hi Rahul! As this is an older post, I’d recommend sharing your question in the Treehouse Community!
Excellent Post.Nice Explanation.Thanks for the share!.
Fantastic Tutorial.
Thank You 🙂
Amazing tutorial, thank you.
Really cool!
Are you planning to do any Ionic courses?
Very interesting. It is also interesting that you go to http://ionicframework.com/getting-started/ and click More and then realize that dropdown is not correctly displayed. A bit unprofessional?
Nice post! Ionic is awesome, but I don’t like Angular, and thats why I’m using Meteoric http://meteoric.github.io to use the best of Meteor + Ionic in my app http://99folks.com 🙂
This was much easier to understand than I thought it would be. My friend just learned ionic and said it took him about a month and still doesn’t really get it. I feel like I figured it out just reading this in a couple minutes. Thanks for the share!