Last Updated on May 23, 2016 by Laura Coronel
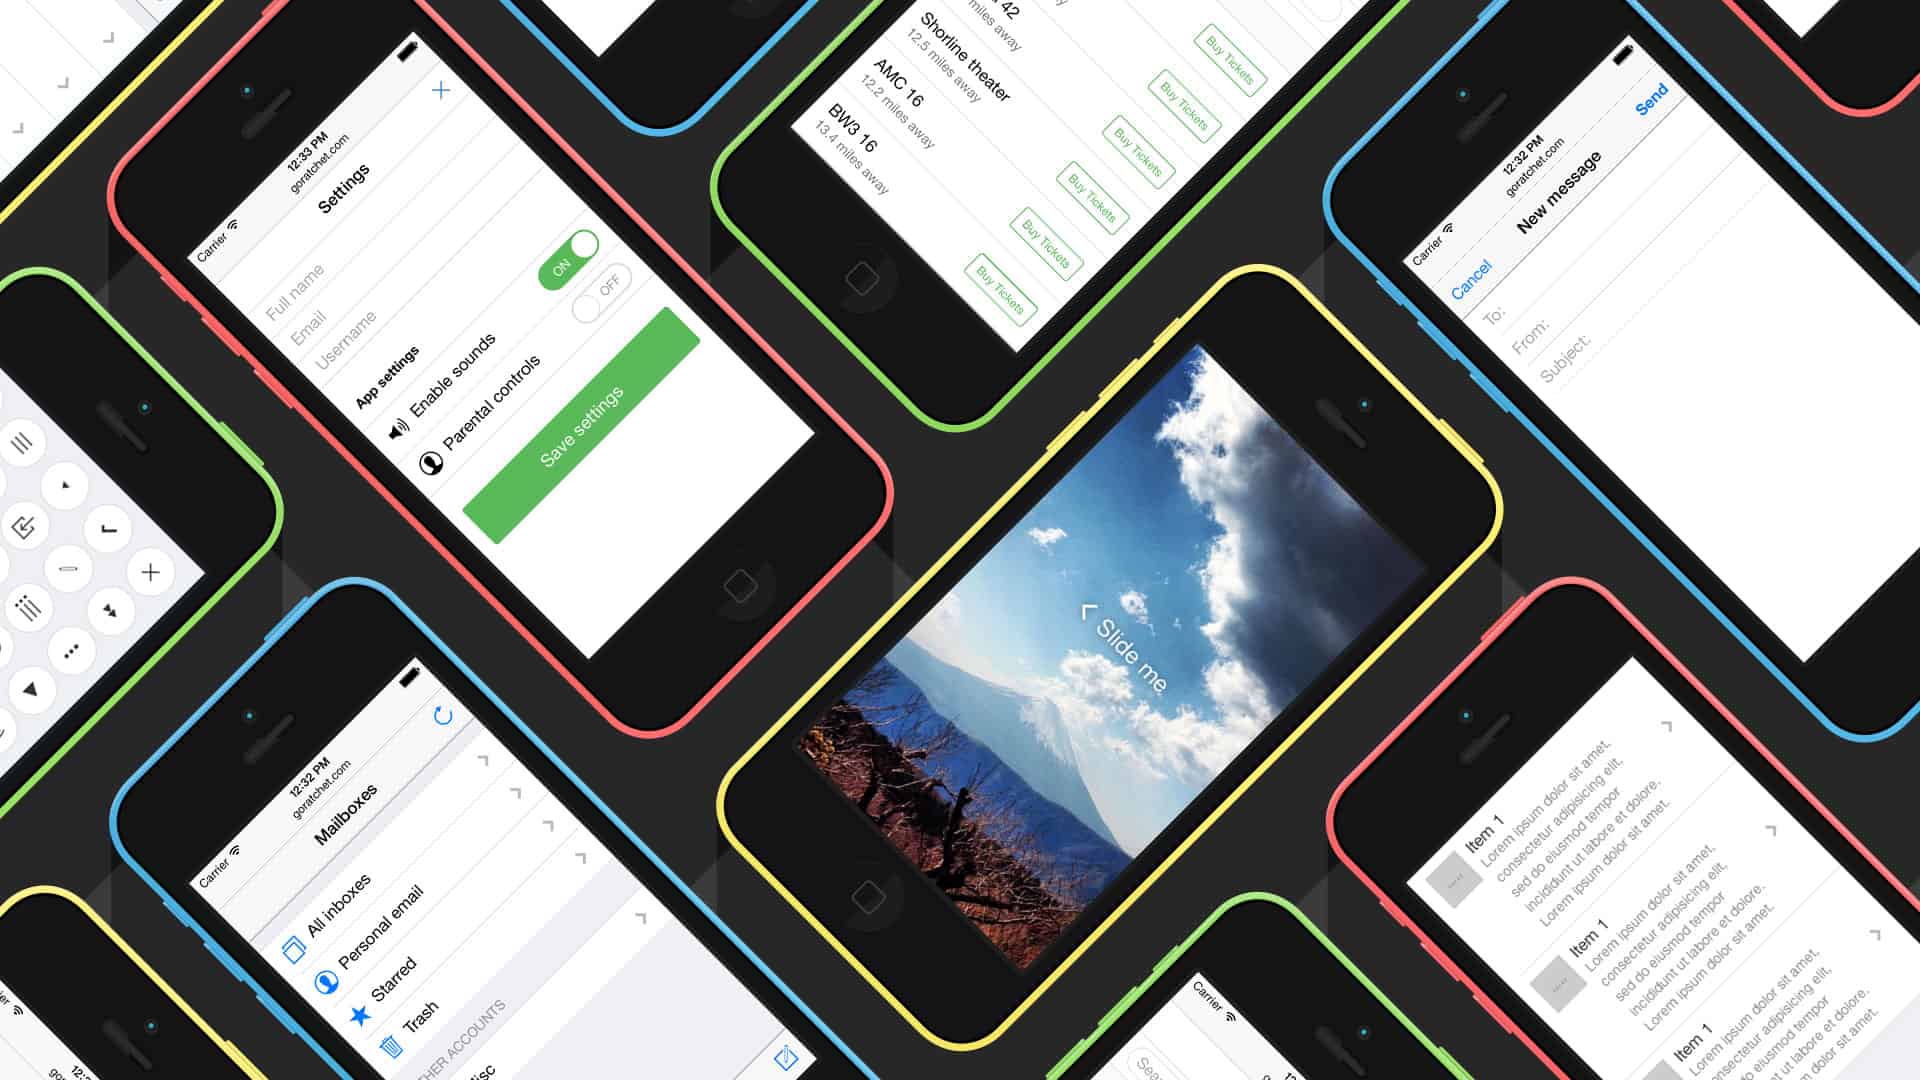
Ratchet is a front-end framework for building mobile web apps in HTML, CSS, and JavaScript. Ratchet 2.0 was recently released, so it’s a good time to start learning how to build Ratchet apps. If you just want to see Ratchet in action, click this demo button on your mobile device (or enable touch events in your browser) to see what it looks like: See Demo (Mobile Only) Download Example Code
Contents
About Ratchet
Often it’s best to use responsive design for building websites that work across mobile, tablets, and desktop devices. However, in some instances, you may want to provide users with an experience that’s custom-tailored to their current device context. Additionally, there are plenty of apps that might only make sense on a mobile device, such as apps that rely heavily on geolocation. Finally, if you’re building native apps, then it could be helpful to rapidly prototype in a web browser first.
Ratchet aims to provide designers and developers with a framework for building mobile web apps that feel native. The framework is brought to you by the same team that created the popular Bootstrap framework, which means that Ratchet is very high quality. Whether you want to target iOS, Android, or both, Ratchet 2.0 is up for the job.
Free trial on Treehouse: Do you want to learn more about front-end design, mobile apps, and frameworks? Click here to try a free trial on Treehouse.
Getting Started
Step 1: Download Ratchet
To download Ratchet, head over to http://goratchet.com/ and click the big download button. You didn’t think this step would be difficult, did you?
Step 2: Start a Server
Even though Ratchet is front-end code, it still needs to be running on a web server for Push.js (some JavaScript included with Ratchet) to work properly. If you’re on Windows, I recommend using WAMP to start up a server for local development. If you’re on Mac OS X, starting a Python server is straightforward. Open the Terminal app and navigate to the directory where your Ratchet files are stored using the change-directory command. You’ll need to modify the path so that it maps to your project directory: $ cd ~/dev/MyRatchetProject
Mac OS X comes with Python preinstalled, so just type this command to start a server: $ python -m SimpleHTTPServer By default, this should start a server on port 8000. Type the following address in your browser and you’re good to go: http://localhost:8000
Step 3: Enable Touch Events
Ratchet won’t work properly in a desktop browser with default settings, but there are a few things you can do to set up a development environment. The easiest method is to simulate touch events in either Chrome or Firefox. However, I recommend developing using a mobile phone simulator.
On Mac OS X, you can install XCode and use the iPhone simulator to see what your site will look like in Mobile Safari. Alternatively, you could even just use a real phone. If it’s connected to the same WiFi network as your computer, type in the IP address of your development machine along with the port you’re using to develop, and you should see your site. Your IP address and port will vary, but the address would look something like this: http://192.168.1.0:8000
Step 4: Download Examples
I’ve combined several of the Ratchet templates and components into a Ratchet Example Project that you can use to help jump-start development.
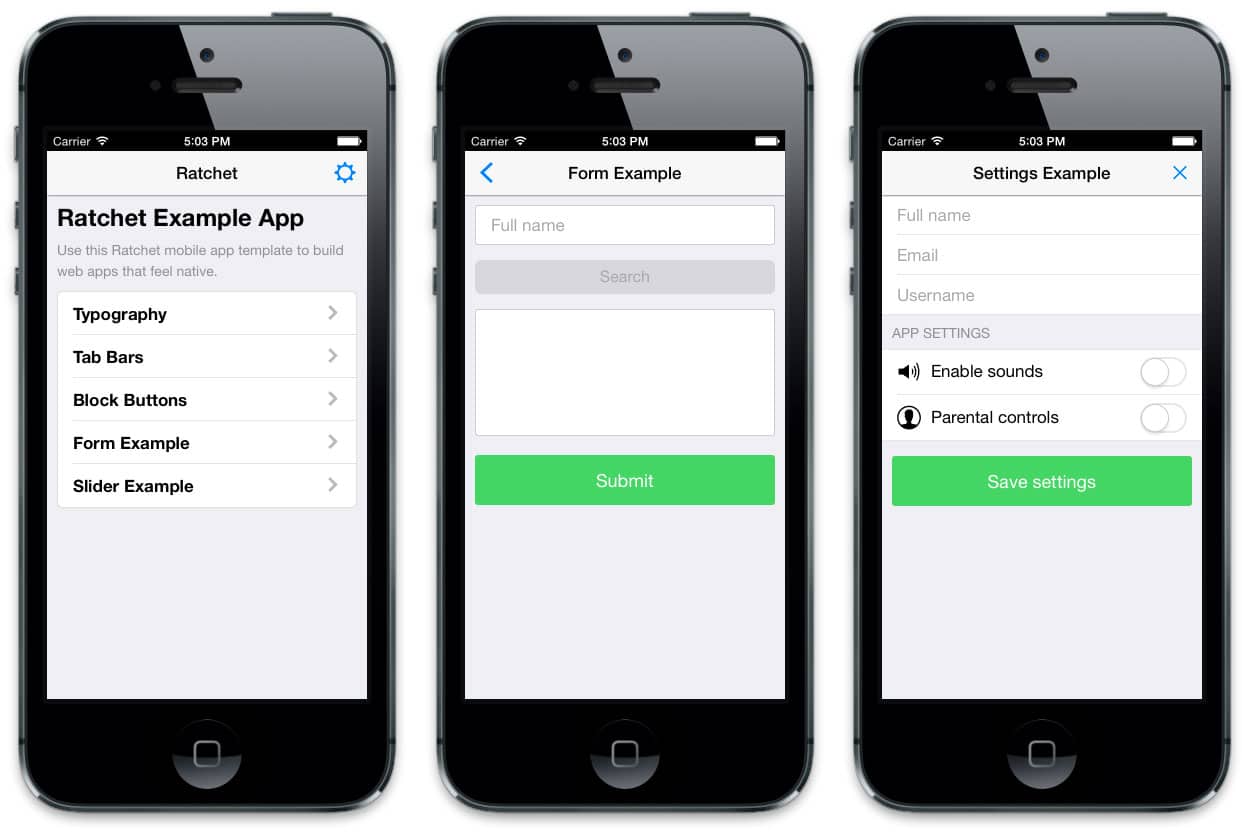
In the Ratchet Example App, there are examples of several components and common types of pages.
The example project includes Ratchet 2.0.2 (the latest version as of this writing), but if you want to do more than just experiment, it’s a good idea to go to the Ratchet site and download the latest version. If you’d like to see more templates of different types of apps, check out the official Ratchet example page.
Basic Structure of a Ratchet App
Each view in Ratchet is a separate HTML page that can be linked together like normal web pages. On each Ratchet page, there are three rules to remember:
- If you want to add a fixed bar (using the
.barclass) to the page, make sure it’s the first thing inside the<body> - Anything that’s not in the
.barclass should go inside a div with the class.content - Make sure to add the proper
<meta>tags (included in the examples)
Ratchet has decent basic styling, but if you want your app to look like a native iOS or Android app, you can include additional CSS. Simply add either ratchet-theme-ios.css or ratchet-theme-android.css as needed. Here’s a code snippet that gives an example of what should go inside the <body> element:
<body>

  <!-- Make sure all your bars are the first things in your <body> -->
  <header class="bar bar-nav">
    <a class="icon icon-left-nav pull-left" href="/index.html" data-transition="slide-out"></a>
    <h1 class="title">Typography</h1>
  </header>

  <!-- Wrap all non-bar HTML in the .content div (this is actually what scrolls) -->
  <div class="content">
    <div class="content-padded">
      <h3>h3. Heading</h3>
      <p>Lorem ipsum dolor sit amet, consectetur adipisicing elit, sed do eiusmod tempor incididunt ut labore et dolore magna aliqua.</p>
    </div>
  </div>

</body>
Ratchet Components
Ratchet includes a huge variety of pre-built components that come in the form of CSS classes. Below are just a few of the highlights. For the complete list of components, check out the official Ratchet documentation.
Typography
Almost every front-end framework includes good default typography, and Ratchet is no exception. Simply use headline elements and paragraphs as you normally would. Additionally, if you want to pad content so that it doesn’t run up against the edges, you can wrap elements in the .content-padded class.
Table Views
To create a table view, add the class .table-view to an unordered list and add the class .table-view-cell to each list item. By default this will create a list that spans edge to edge, but you can optionally wrap the unordered list in the .card class to add some padding. Here’s a code snippet from the example project mentioned at the beginning of this post. 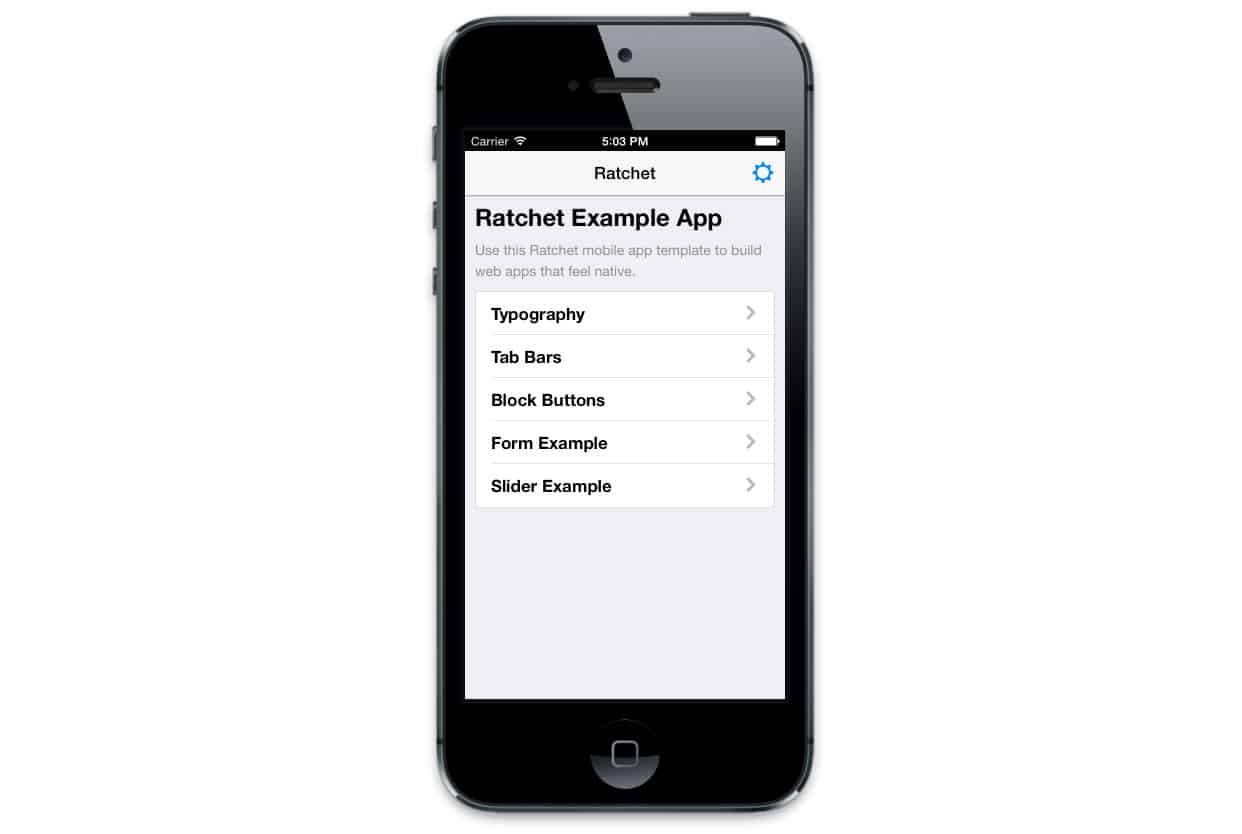
<div class="card">
  <ul class="table-view">
    <li class="table-view-cell">
      <a class="push-right" href="examples/typography.html">
        <strong>Typography</strong>
      </a>
    </li>
    <li class="table-view-cell">
      <a class="push-right" href="examples/tab-bar.html">
        <strong>Tab Bars</strong>
      </a>
    </li>
  </ul>
</div>
Page Transitions with Push.js
Push.js (included in Ratchet) will listen for any clicks on the page and apply transitions automagically. To add a transition, simply add the attribute data-transition to anchor elements with one of three values: slide-in, slide-out, or fade. Using the previous table view example, we can make the pages slide by adding a transition to the links. <a href="examples/tab-bar.html" data-transition="slide-in">
Ratchet includes several different button styles. The “block button” style is for buttons that should span the width of the parent container. Here’s example code from the Ratchet documentation and the corresponding button types that will render. 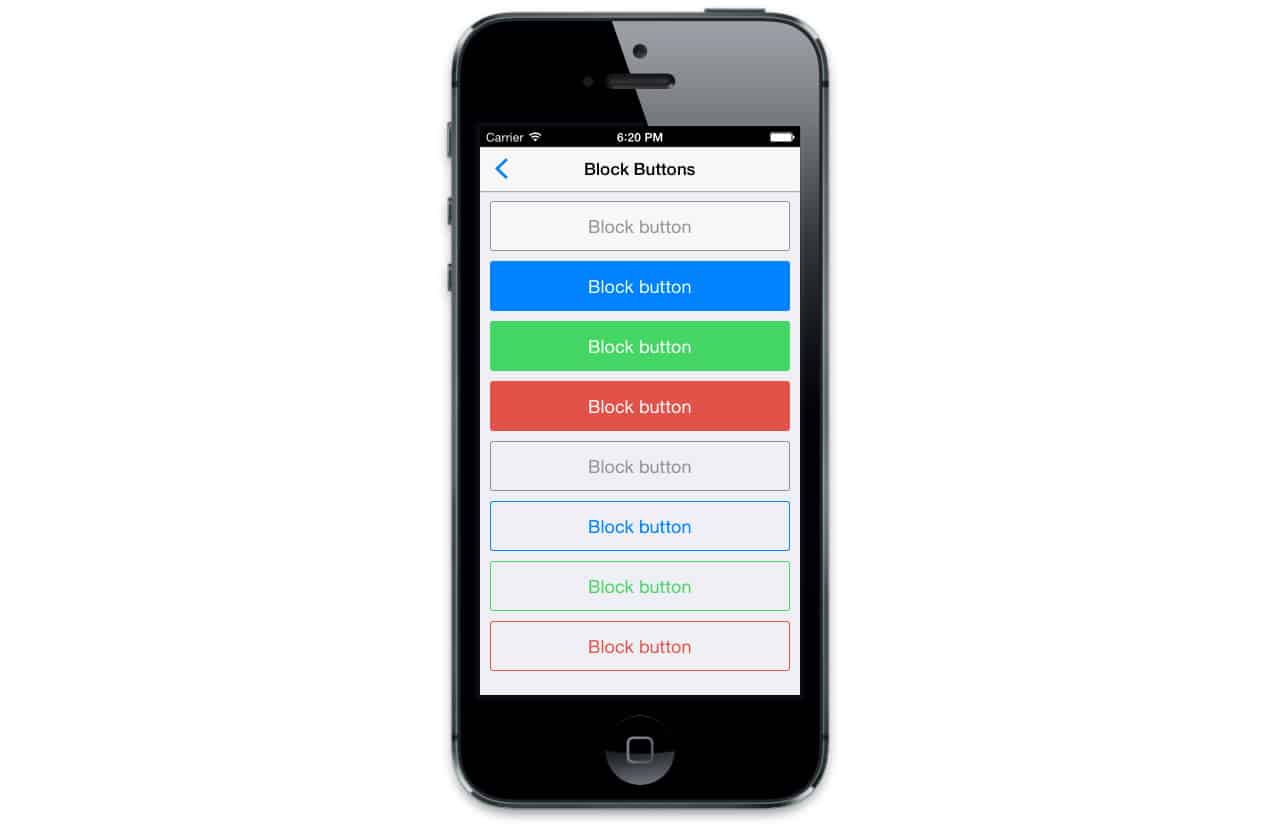
<!-- Wrap all non-bar HTML in the .content div (this is actually what scrolls) -->
<div class="content">
  <div class="content-padded">
    <button class="btn btn-block">Block button</button>
    <button class="btn btn-primary btn-block">Block button</button>
    <button class="btn btn-positive btn-block">Block button</button>
    <button class="btn btn-negative btn-block">Block button</button>

    <button class="btn btn-block btn-outlined">Block button</button>
    <button class="btn btn-primary btn-block btn-outlined">Block button</button>
    <button class="btn btn-positive btn-block btn-outlined">Block button</button>
    <button class="btn btn-negative btn-block btn-outlined">Block button</button>
  </div>
</div>
Sliders
Ratchet has a built-in slider component that allows users to browse images using swipe gestures. Building a slider involves the use of several CSS classes. Additionally, I wasn’t able to get sliders to work out of the box, so I ended up checking the Ratchet examples to see what CSS had been added. I’ve included the extra CSS in the downloadable example project so that you can see for yourself. That said, the end result is worthwhile because it has the responsiveness of a native app. 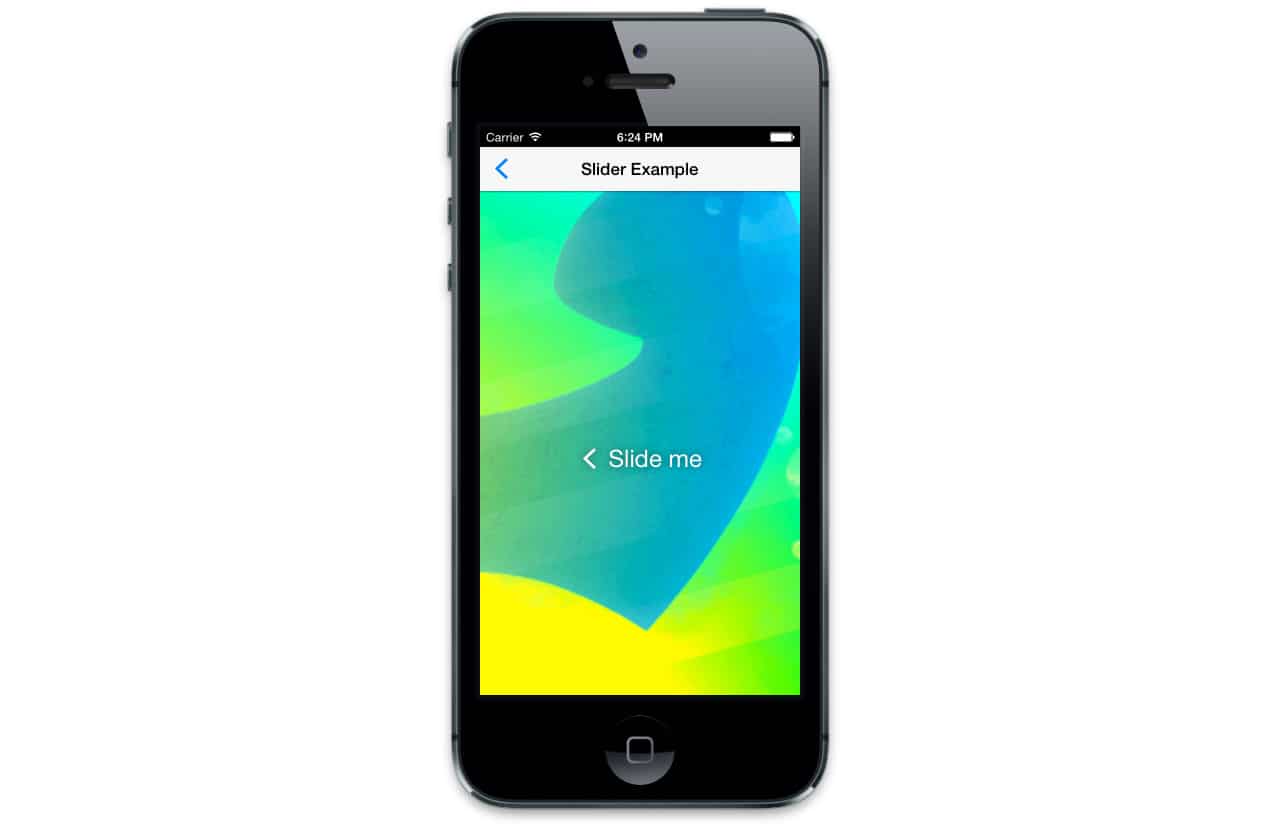
Further Reading
This post is simply meant to provide a brief overview of Ratchet. If you’d like to learn more, check out the Ratchet documentation, where you can read about all the components in the framework. If you’d like to really get into Ratchet and see the source code, here’s Ratchet on Github. I think Ratchet is a pretty amazing framework that’s worthy of discussion, so if you’re using Ratchet or if you have any questions, I’d love to hear in the comments!


We offer excellent pricing on all our cargo handling products and the best quality Cheapest delivery rates worldwide with our integrated price comparison software which automatically get you the best postage
We offer excellent pricing on all our cargo handling products and the best quality Cheapest delivery rates worldwide with our integrated price comparison software which automatically get you the best postage price within seconds!
Hello:
Hwo to implement in ratchet framework crontrols like
radiobutton, select or dropdown, and checkbox ?
Thank you very much
Gabriel
Is there any chance of a treehouse lesson on using this? Or would you say it’s too similar to the content that the bootstrap / foundation5 lessons cover?
Looks really interesting though.
I’m impressed with your writing skills and also like your blog format. It’s my pleasure to visit such a great and instructive blogs like yours. Will definitely look after your post regularly, keep blogging. Thanks a lot!
hiiii nick……….u r amazing…………..i loved the way u have put the contents of “how to make website” …… for beginners like us its the best platform to gain knowledge……………..love u nick for such amazing work….
Ive started a mobile app project with Ratchet and using Phonegap to build the app. So far the experience has been great, it works almost perfect (the fade transitions doesn’t work) and its super easy to learn.
I hope it gets the attention it deserves for more support. I personally think is a mistake to promote it as a framework for prototyping, of course it work for that purpose, but it has more potential that just for that.
Hi Daniel,
I am very interested in your way to build an app with Ratchet an Phonegap…
Can you give me a few tipps how to start with that?
Thank you very much 🙂
Christoph
This is very handy! Thanks for sharing 😀
Great tut. Thank you for sharing!
I wanted to use ratchet for a mobile app. I ran into an issue and asked for help in github / stackoverflow / google group / twitter. Did not get single response. I don’t know if I’m using the wrong channels or if there are not that many people with Ratchet experience. I’m reluctant to adopt it if there is not a helpful community behind the project. My $0.02.
My question: https://github.com/twbs/bootstrap/issues/13259
Hi Alper,
I think it has to do with adoption at this point. Ratchet is still relatively new and not as popular as frameworks like Bootstrap or Foundation. I’m still somewhat new to Ratchet myself, so I’m not sure what the answer to your question is either! I would just go with trial and error at this point. It could involve looking at the uncompressed Ratchet CSS to understand how the components are built.