


If you’re looking to take your JavaScript coding to another level, Treehouse offers unlimited-access courses in JavaScript (and many other subjects) starting at $25/month. Try our program out with a free seven-day trial today.
JavaScript is one of the most popular programming languages in the world. Because it’s built into most web browsers, programmers and web designers can use JavaScript to add interactive features to websites that reach billions of people. But in the past couple of years, JavaScript has started to play a larger role outside of the browser, due in large part to Node.js.
Node.js is a tool for building fast network applications. It’s known as a “JavaScript runtime environment” which simply means it lets you write JavaScript code that can run on your computer free of any web browser. Node.js is used to create fast web servers by companies like Walmart, eBay and Netflix.
But because Node.js can be used on your desktop computer, programmers have created useful Node-based tools that help with the process of building web sites. For example, Grunt is a popular tool used to automate common tasks like compiling Sass files to CSS, making JavaScript files smaller so they load in less time, and compressing images to smaller file size. While these tools run through the Node.js environment, you’ll use another tool, NPM, to install them. NPM is what’s called a “package manager.” NPM makes installing a tool like Grunt as easy as npm install -g grunt-cli.
But before you can use Node.js or NPM you need to install them — while the NodeJS website includes an installer, there’s a better way to install them on a Mac. In this article, I’ll take you through the process of installing Node.js and NPM on a Mac using Homebrew. In another article, I’ll show you Windows users how to install them on the Windows operating system.
Contents
Prerequisites
Before you install Node.js and NPM you’ll first need to have some familiarity with the Mac Terminal application. Terminal lets you dig into the underbelly of the operating system and issue text commands to your computer. You’ll need to use Terminal (or a similar application like iTerm) to not only install Node.js but also to use it and NPM.
Before you can install Node, you’ll need to install two other applications. Fortunately, once you’ve got these on your machine, installing Node takes just a few minutes.
- XCode. Apple’s XCode development software is used to build Mac and iOS apps, but it also includes the tools you need to compile software for use on your Mac. XCode is free and you can find it in the Apple App Store.
- Homebrew. Homebrew is a package manager for the Mac — it makes installing most open source sofware (like Node) as simple as writing
brew install node. You can learn more about Homebrew at the Homebrew website. To install Homebrew just open Terminal and typeruby -e "$(curl -fsSL https://raw.githubusercontent.com/Homebrew/install/master/install)". You’ll see messages in the Terminal explaining what you need to do to complete the installation process.
Are you ready to start learning?
Learning with Treehouse for only 30 minutes a day can teach you the skills needed to land the job that you’ve been dreaming about.


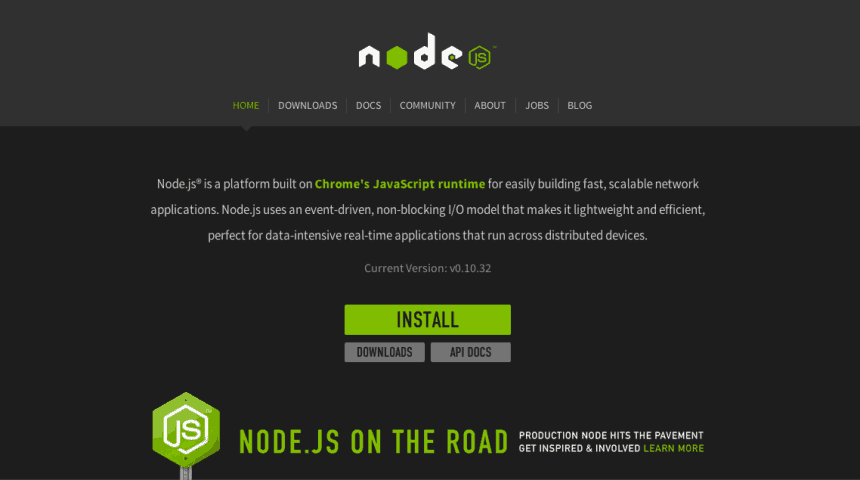
Why Homebrew?
Observant readers will notice in the screenshot above that there’s an installer for NodeJS. You can download it directly from NodeJS.org. I recommend Homebrew over that installer for a few reasons:
- When installing Node via the installer, you have to use the
sudocommand to make sure it installs properly (there is a workaround for this, but it’s complicated).sudolets the installer place files in areas of your file system that are only accessible to administrators. One nice thing about Homebrew is that it doesn’t require access to administrator-only areas of your computer in order to install NodeJS (or any other package). This is a safer approach as it makes sure that any package you install with Homebrew can’t wreak havoc on your computer. - After installing Node via the installer you have to add the path to the node executable to your system $PATH. This involves mucking around with your shell login file. For experienced Terminal users or Unix-people this isn’t a big deal, but for those new to the command line that step can be daunting. Although the Homebrew method involves installing several different pieces of software, it’s generally just a simple process of point-click-and-wait. It takes a bit longer this way but there’s less room for error.
- Homebrew is a great tool for web developers. First, it makes removing Node very easy (otherwise you have to crawl through your file system and delete a bunch of files manually). Second, it greatly simplfies the installation of other useful packages like Git, Ruby, or the very useful wget utility.
Installation
Installing Node.js and NPM is pretty straightforward using Homebrew. Homebrew handles downloading, unpacking and installing Node and NPM on your system. The whole process (after you have XCode and Homebrew installed) should only take you a few minutes.
- Open the Terminal app and type
brew install node. - Sit back and wait. Homebrew downloads some files and installs them. And that’s it.
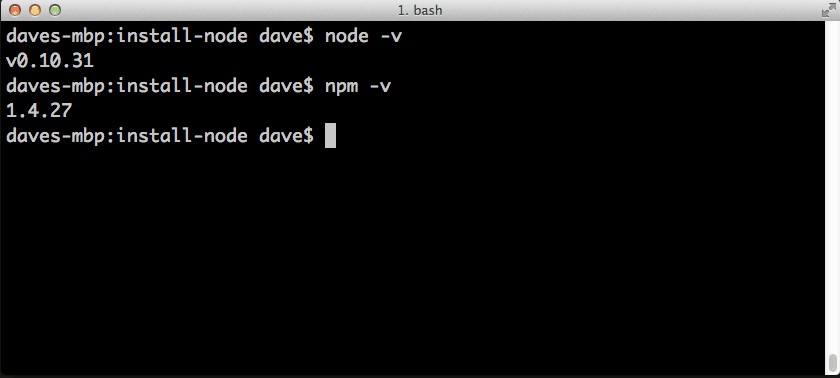
To make sure you have Node and NPM installed, run two simple commands to see what version of each is installed:
- To see if Node is installed, type
node -vin Terminal. This should print the version number so you’ll see something like thisv0.10.31. - To see if NPM is installed, type
npm -vin Terminal. This should print the version number so you’ll see something like this1.4.27
Check and Update Your Node and NPM Versions with Homebrew
New versions of Node and NPM come out frequently. You can use Homebrew to update the software it installs.
- Make sure Homebrew has the latest version of the Node package. In Terminal type
brew update - Upgrade Node:
brew upgrade node
How to Uninstall Node and NPM
You can use Homebrew to uninstall packages that it installed: brew uninstall node
With Node.js and NPM installed you’ll soon be able to take advantage of the huge world of NPM modules that can help with a wide variety of tasks both on the web server and on your desktop (or laptop) machine. The NPM site lists all of the official Node packages making it easy to make the choice. Have fun and check out my current courses at Treehouse.
Learn with Treehouse
Learning with Treehouse starts at only $25 per month. If you think you’re ready to start exploring if tech is right for you, sign up for your free seven day trial.
What sets Treehouse apart is their dedication to helping you find your perfect job or develop your own business. – SwitchUp.org
Follow us on Twitter, Instagram, and Facebook for our favorite tips, and to share how your learning is going. We’ll see you there!
If you liked reading this article, you should also look at these two: