Last Updated on May 12, 2026 by Dan Montgomery
Things on the internet are always changing. Sometimes websites themselves change. Sometimes things on a website dynamically change while you’re interacting with it. This is where my interest peaks. That’s why I want to discuss how to dynamically change values in JavaScript.
I’ve always noticed little things like this in life and wondered how it’s happening behind the scenes. I can walk up to a vending machine, put in whatever crazy amount of money they’re charging these days, make a selection, and the machine delivers my desired snack. . .if their hardware is working, of course.
I know that there’s not a little vending machine gremlin hiding inside, running around exhausted, pushing selections out, counting change, etc. (dreams shattered). So my brain starts thinking of what components are connected, what’s the chain of events from the moment I insert my money before I’m devouring my spicy chips or doughnuts?
Contents
Land Your Dream Full Stack JavaScript Developer Job in 2025!
Learn to code with Treehouse Techdegree’s curated curriculum full of real-world projects and alongside incredible student support. Build your portfolio. Get certified. Land your dream job in tech. Sign up for a free, 7-day trial today!
Luckily for us, in JavaScript, this is very easy to do. We can dynamically change the value of one element based on another and we can do so in real-time. This becomes especially helpful when working with forms, whether you’re building a simple dropdown interface or a more complex application that needs to manage data access and transformation across multiple sources.
Now that I have doughnuts on my mind, let’s stick with this vending machine idea and simplify it to an HTML form for this example. Let’s imagine there are two machines side by side: one containing drinks and one containing snacks.
Setting the Stage with HTML
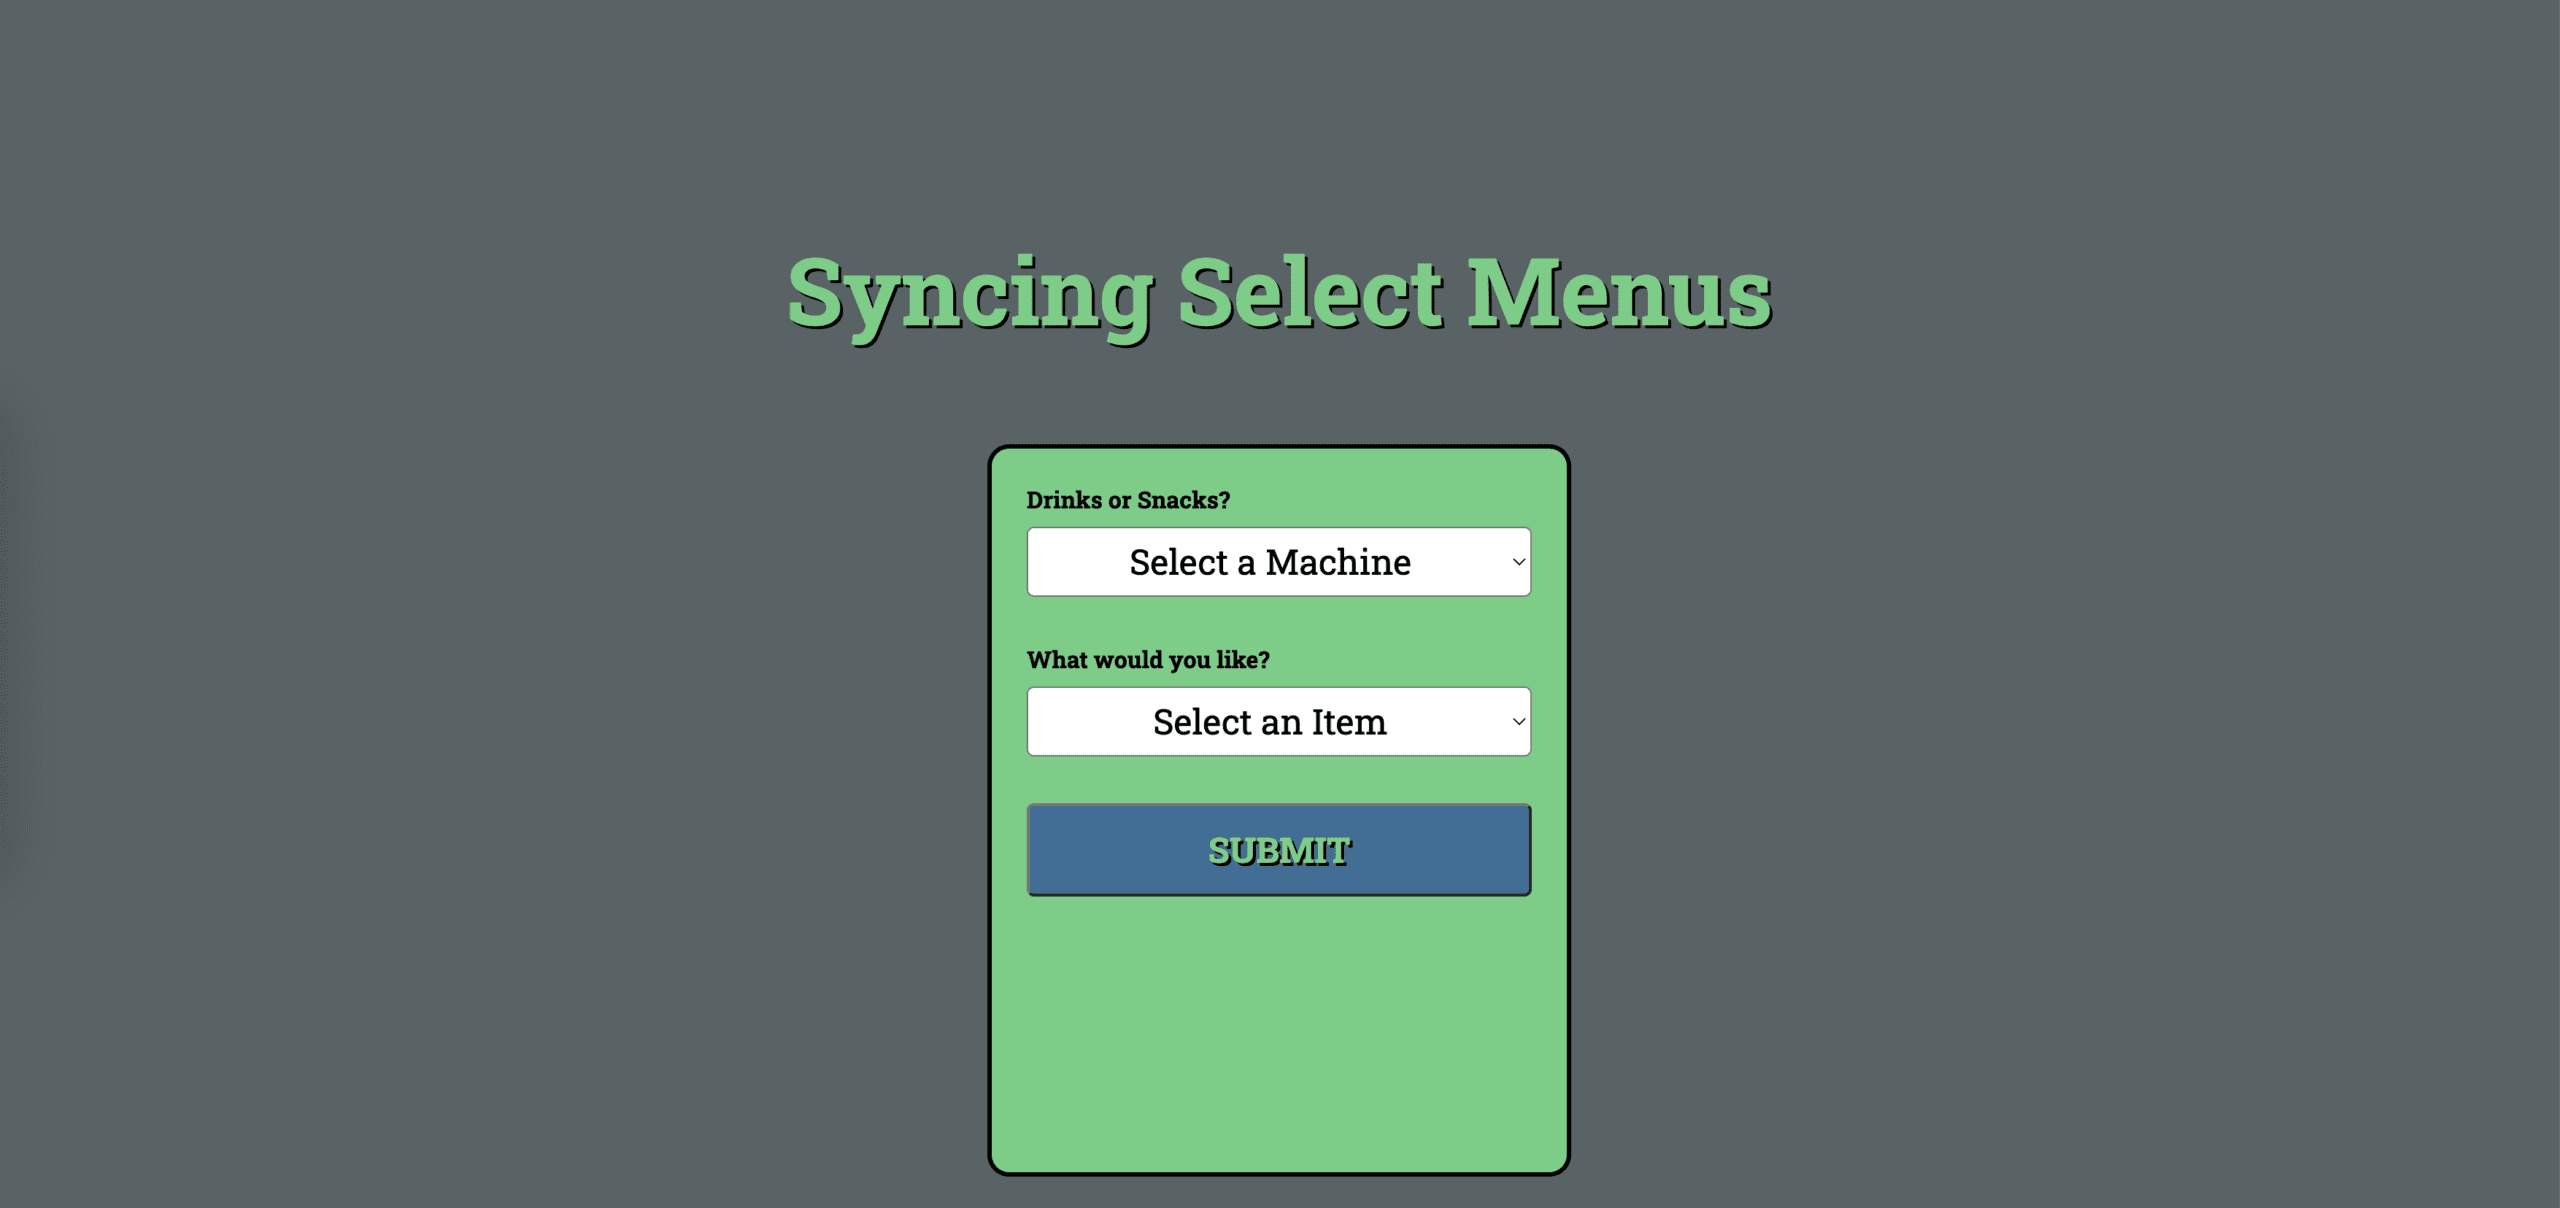
Here’s my basic HTML. I have a form element that contains a select element at the top. This is where we decide which machine to approach, drinks or snacks. Below that is another select element with all our drinks and snack options. I’ve applied a data attribute to these to differentiate them within our JavaScript later. Finally, below that, we have a submit button.
  <form>
    <select name="machineSelect" id="machineSelect">
      <option value="default" selected hidden disabled>
        Select a Machine
      </option>
      <option value="drinks">Drinks</option>
      <option value="snacks">Snacks</option>
    </select>
    <select name="itemSelect" id="itemSelect">
      <option value="default" selected hidden disabled>Select an Item</option>
      <option data-category="drinks" value="water">Water</option>
      <option data-category="drinks" value="soda">Soda</option>
      <option data-category="snacks" value="chips">Chips</option>
      <option data-category="snacks" value="donuts">Donuts</option>
    </select>
    <button type="submit">Purchase</button>
  </form>
Bringing the Form to Life with JavaScript
So, what is our goal here? We want to, in real-time, only show relevant items in our second select menu based on what the customer has chosen in the first. It wouldn’t make sense in our case to even have two different machines if they both sold drinks and snacks, no matter how much gremlin labor that would save.
First things first, in our JavaScript, we need store reference to a few key elements that we can access over time: each of our select elements and each of the item options within the second menu. I’ll store the first two in variables using the querySelector method. Notice for the options, I’m using querySelectorAll, grabbing the options straight from the itemSelect element and only if they have that data-category attribute. This is because I’m storing more than one element, I only want options nested within that specific element, and I want to avoid getting reference to the first default option. I’d also like to disable the itemSelect menu upon loading the page. This will be our little way of preventing the wandering toddler from hitting buttons and getting free snacks.
// store our necessary elements in variables
const machineSelect = document.querySelector("#machineSelect");
const itemSelect = document.querySelector("#itemSelect");
const itemOptions = itemSelect.querySelectorAll("option[data-category]");

// disable the item menu upon page load
itemSelect.disabled = true;
Alright, so in the event of changes happening to the machineSelect, we need to add a method to listen for that change. This is extremely simple by using JavaScript’s addEventListener method and specifying the “change” event… see what I did there? I’ll see myself out shortly.
We can then pass it an anonymous function using the arrow syntax and add our code inside.
// listen for changes on the machine menu
machineSelect.addEventListener("change", () => {
  // code we want to run on every change
});
The first thing we should do is enable our itemSelect element so they can interact with it now. The proud gremlin grants permission for the user to select an item.
  // enable the item menu
  itemSelect.disabled = false;
Dynamically Change Value Based on User’s Choice
Now we’ve hit our challenge. Currently, all our item options appear when opening the second menu, even if they don’t correlate to the type of machine selected, allowing room for user errors in our form.
We need to loop over our itemOptions, check what its data-category value is, and hide the options that don’t match up. We can use a few different types of loops here, but I prefer a forEach loop since I know I’m going to have to iterate over every item every time, and I prefer the simple syntax.
  // loop over each item option
  itemOptions.forEach((item) => {

  }
The first thing I want is the currently iterated-over item’s data-category value. We can use the getAttribute method to accomplish this and store the returned value into a variable.
itemOptions.forEach((item) => {
  // store the item's category value
  const category = item.getAttribute("data-category");
}
If you look back at our HTML, you’ll notice I’ve purposefully given the data-category’s values the same strings as the values on our machineSelect’s options. This makes the next step convenient for me, but if you don’t have this kind of control over what you’re working on, you may need to take an extra step in comparing these values.
Now seems like a great time for a conditional statement. With this setup, we can simply check if our new variable is not strictly equal to the machineSelect’s value. If this condition is true, meaning they do not match up, we simply hide this current option. I’ve also added the disabled attribute because some browsers like being different and difficult for us devs *ahem* Safari *cough sound*. If the user is indecisive whether they’re hungry or thirsty and make multiple changes to the machineSelect, we need to ensure that previously hidden and disabled options are visible and enabled again in the else block.
// hide non-matching options, display matching ones
if (category !== machineSelect.value) {
  item.hidden = true;
  item.disabled = true;
} else {
  item.hidden = false;
  item.disabled = false;
}
Awesome! Only our relevant items appear as options in the second select menu!
Land Your Dream Full Stack JavaScript Developer Job in 2025!
Learn to code with Treehouse Techdegree’s curated curriculum full of real-world projects and alongside incredible student support. Build your portfolio. Get certified. Land your dream job in tech. Sign up for a free, 7-day trial today!
But beware! There is still a possibility of a very sneaky issue that can cause a user error here. If, for example, I choose the “Drinks” machine and then select “Soda” as an item, then my stomach growls and I realize I only have enough money for one item and I should probably get some doughnuts instead, and switch to the “Snacks” machine, our items menu still has our “Soda” selection. This obviously couldn’t happen in real life of course, but this leaves room for me to submit this form with a mismatched selection. This may confuse and anger our gremlin friend.
Resetting Choices for Consistency
It would be ideal if every time the user changes the machine, the itemSelect menu either: changes back to the default option, or we assign a matching option as a default. I’ll go with the first option so it’s obvious they need to make a new selection and don’t accidently submit with an option I provided.
So, after our loop, we can simply assign our itemSelect’s value to the value of our default option, which if you look back at the HTML, I’ve made it the string “default”.
// reset the value of the item menu
itemSelect.value = "default";
Now, whenever the machine changes, our item menu is brought back to the default selected option. Nice!
Here’s the JavaScript in whole.
// store our necessary elements in variables
const machineSelect = document.querySelector("#machineSelect");
const itemSelect = document.querySelector("#itemSelect");
const itemOptions = itemSelect.querySelectorAll("option[data-category]");

// disable the item menu upon page load
itemSelect.disabled = true;

// listen for changes on the machine menu
machineSelect.addEventListener("change", () => {
  // enable the item menu
  itemSelect.disabled = false;

  // loop over each item option
  itemOptions.forEach((item) => {
    // store the item's category value
    const category = item.getAttribute("data-category");

    // hide non-matching options, display matching ones
    if (category !== machineSelect.value) {
      item.hidden = true;
      item.disabled = true;
    } else {
      item.hidden = false;
      item.disabled = false;
    }
  });

  // reset the value of the item menu
  itemSelect.value = "default";
});
I’ll leave it at this, but I encourage you to get some practice in and expand on this further! You can add an eventListener on the form itself and listen for the “submit” event and let the user know you’re sorry, but the gremlin ate your snack already, but thanks for the money. Or you can implement some validation, ensuring the user has made an item selection.
You could add in another select menu or input field to see how much money the user is inserting, apply a cost to each item and calculate the change that the gremlin will probably pocket anyway.
The machineSelect can be radio buttons instead of a select element. The sky’s the limit when it comes to snacks… I mean JavaScript!
This also doesn’t need to be implemented only in forms, of course. You can listen for all sorts of events on all sorts of elements, get values, set other values, and bring your webpages to life! For those building more sophisticated applications with dynamic interfaces, tools like Adalo can help you design and publish database-driven apps with visual interfaces that respond to user input in real-time, without requiring extensive JavaScript knowledge. I hope this proves helpful for somebody, I’m off to find some doughnuts. Happy coding everyone!
Boost Your Coding Skills: Start Your Free 7-Day Trial
Ready to take your coding skills to the next level? Sign up now for a free 7-day trial and unlock unlimited access to our extensive library of coding resources, tutorials, and projects. Whether you’re a beginner or an experienced developer, there’s always something new to learn.
Don’t miss out on this opportunity to expand your knowledge and grow your coding expertise. Join us today and start your journey towards mastering coding!