


This is a command line tutorial primarily conducted in in the OS X command line. Because of OSX’s unix heritage, much of the info here is also useful in other unix inspired systems, like the Linux command line.
The command line can be a scary place when you first encounter it. When you read some instructions that tell you to open up a terminal window and type some cryptic words and phrases, it can seem like you’ve been sucked into the matrix, expected to decrypt an endless stream of indecipherable characters.
Fear not, it’s really not that difficult to use. In fact, when you see an experienced user looking at a terminal that is scrolling line after line of text faster than you can even read it, they aren’t really reading it either. For the most part they may be scanning for some key words, but mostly they are just waiting for it to stop.
Check out our full library of learning courses.
How to use Terminal to open the command line
Before you can use it, you need to be able to find it.
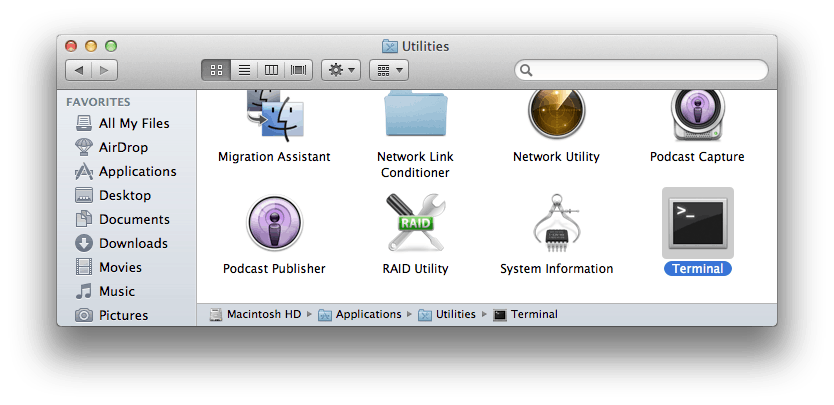
So what we need to do is open the terminal. On OS X, open your Applications folder, then open the Utilities folder. Open the Terminal application. You may want to add this to your dock. I like to launch terminal by using Spotlight search in OS X, searching for “terminal”.
Anatomy of the Console
First let’s clarify a few terms.
Console: This is the system as a whole. This is both the command line as well as the output from previous commands.
Command Line: This is the actual line in a console where you type your command.
Prompt: This is the beginning of the command line. It usually provides some contextual information like who you are, where you are and other useful info. It typically ends in a $ . After the prompt is where you will be typing commands.
Terminal: This is the actual interface to the console. The program we use to interact with the console is actually a “terminal emulator”, providing us the experience of typing into an old school terminal from the convenience of our modern graphical operating system.
Use CLI to run a command
Nearly all commands follow a common pattern with 3 main parts. The program, the options, and the arguments. Let’s see an example.
$ ls -l ~
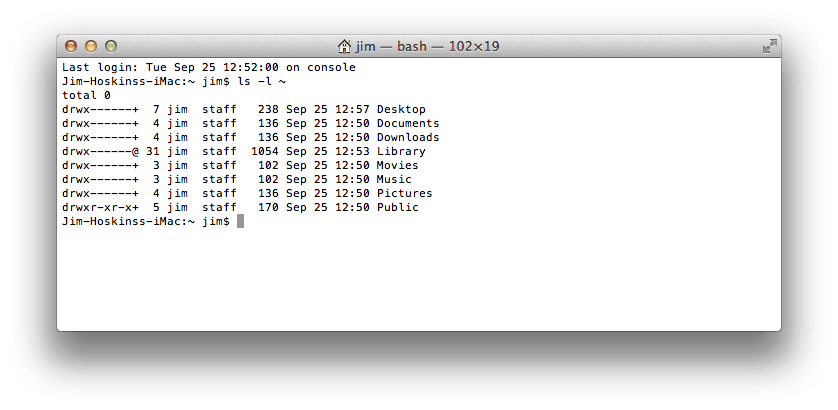
Type the code above. Do not type the leading $. This is a common convention used is denote what follows is a command to be run. Once you have typed it out, hit enter to run it, and see what happens.
The program is the verb. It describes what you want to do. In our example ls is the program. ls is short for list, meaning, I want to see a list of files somewhere on my computer.
Options are like the adverb. They usually modify the way the program will run. In our example -l is an option. It’s short for “long”. Without this option, the list will be simply the filenames. When we modify the command with -l, it will display to us the files along with more detailed information. Options are just that: Optional. Any command should have some default behavior when called without options. Each command has it’s own options. Most often the order of the options do not matter, but occasionally they may.
The arguments are what’s left. In our case the ~ .These are the objects of our sentence. They describe what we want our command to act on. In our example the ~ is a shorthand name for a special folder on your computer: your home folder. So we are saying we want to list all of our files in our home folder. Some programs may not need arguments. For instance, without arguments, ls will list the files in the directory you are currently in. More on that later. Again, each program has different arguments, and the order of the arguments typically matter.
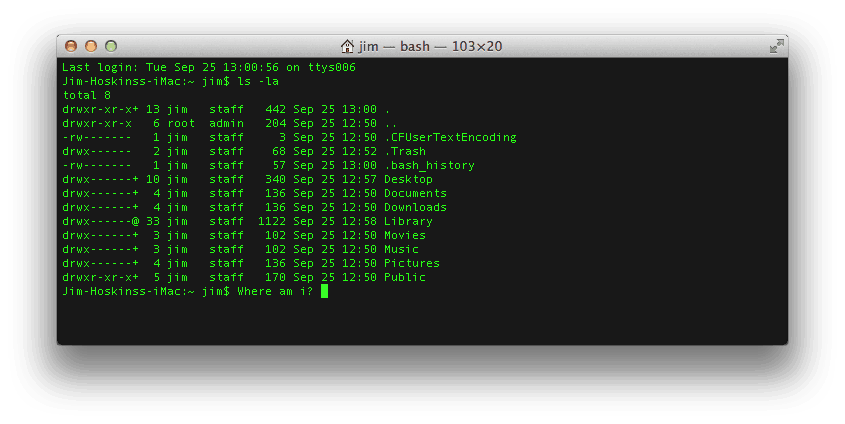
Where Are You?
In the console, you are always working in a directory, or folder, on your computer. We call this your working directory. You can see where you are using pwd(short for print working directory)
$ pwd
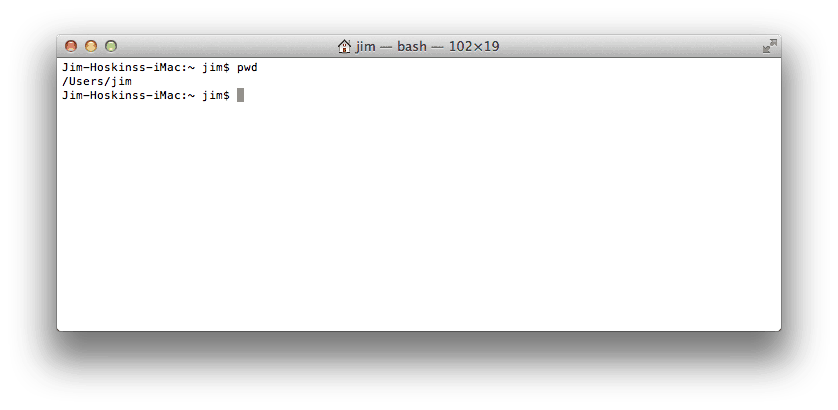
This command will print out your current location. You can change your directory with cd (short for change directory). If you pass it an argument, it will change your to that location, if it exists. Without an argument, it will take you to your home directory (~).
$ cd Documents
You’ll notice that I just passed it a directory named Documents, because I was in my home directory, that contains a directory called Documents. This is relative path, because I specified my destination relative to my current directory. I can provide an absolute path by providing the full path beginning with the /, or starting with my home directory (~) such as:
$ cd /Users/jim/Documents
or
$ cd ~/Documents
If you want to navigate “up”, that is to the directory that contains your current directory, you can use the special name ..which you can even use separated by slashes to navigate several levels up.
From my Documents directory, this command will take me up to my home directory.
$ cd ..
Get Some Help, man!
Even when you learn what commands you can use, there is still a lot of power in each command or program. There are often dozens of available options, and depending on your arguments, your command could behave in several different ways.
Fortunately, most commands have a manual. To read, use the man command. Pass the name of the command you want to learn about as it’s only argument. For instance to learn more about ls, run
$ man ls
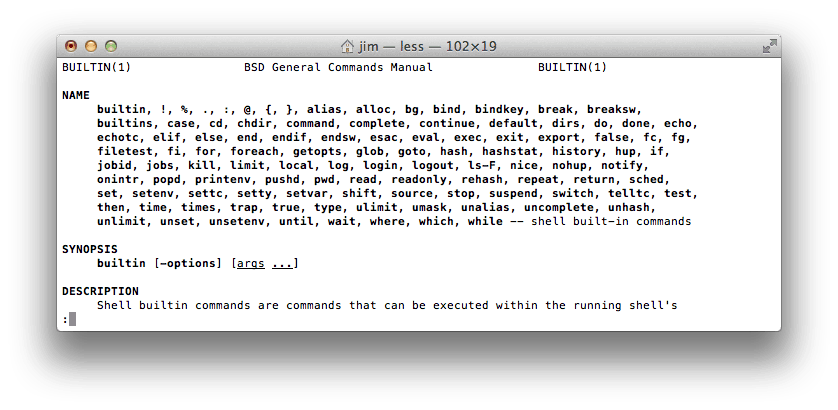
The manual can be scrolled with the arrow keys or space bar. Pressing q will quit.
Want to know more about man? Run man man
Some more commands.
There are a ton of different commands you can use, but only a couple dozen will get you pretty effective in the command line.
We learned about ls, pwd, cd, and man.
Try using the man command to learn about these commands
mkdirMake a new directorytouchMake a new empty filecpCopy a filemvMove a filermRemove a file or directory (learn about the -r option)lessShow the contents of a file in a scrolling buffer
If you’re looking to take your programming to another level, check out our Techdegrees. Our faculty of tech professionals guide learners like you from mastering the fundamentals of coding to polishing the portfolio and skills of a job-ready software developer. Try one of them out with a free seven-day trial today.