


One of the most frustrating and confusing elements of modern web design is the favicon. Short for “favorite icon” it’s the little picture you see in browser tabs, address bars, and possibly other places depending on your browser and operating system.


Favicons can be difficult to create both technically and aesthetically due to their unusual file format and small image size. Adding cross browser support can be tricky as well. Heck, there’s even confusion surrounding the pronunciation of favicon (I’ve heard it said “fah-vee-con” and “fave-eye-con”, although the former is more common). So, let’s figure this out and cut through the rubbish.
Contents
Designing a Favicon
The first step to creating a favicon is design. A good favicon should capture the essence of your site in a glyph the size of an emoji and get across your branding in a very compact space. Most commonly, this is the logo mark for a company (rather than the full logo with text and trademarks).


These websites use the brand’s logo mark, or at least something close to it.
It’s also a good idea to exclude any text, because favicons are far too small for words to be legible. The only exception to this rule is for iconic logo mark text. For example, Wikipedia uses its recognizable “W” and Facebook uses its well known “F”.


These favicons use a single letter that’s strongly associated with their brand. In some cases, like Facebook, the letter is the logo mark itself. In this example, you’ll also notice that Disney’s favicon appears pixelated. That’s because this screenshot was taken on a retina display and they’re only using a 16×16 icon size, while the other sites offer a 32×32 size with more detail.
Favicons are so small that every pixel counts. Often times, downscaling a full size logo creates pixel artifacts that can make the logo look blurry. For a sharp and crisp result, you’ll likely need to edit the favicon at the pixel level.


This is a portion of the full sized Facebook logo after it has been resized down to 32×32. The blurry aliasing around the edges indicate that pixel-level editing is necessary for a sharp result.
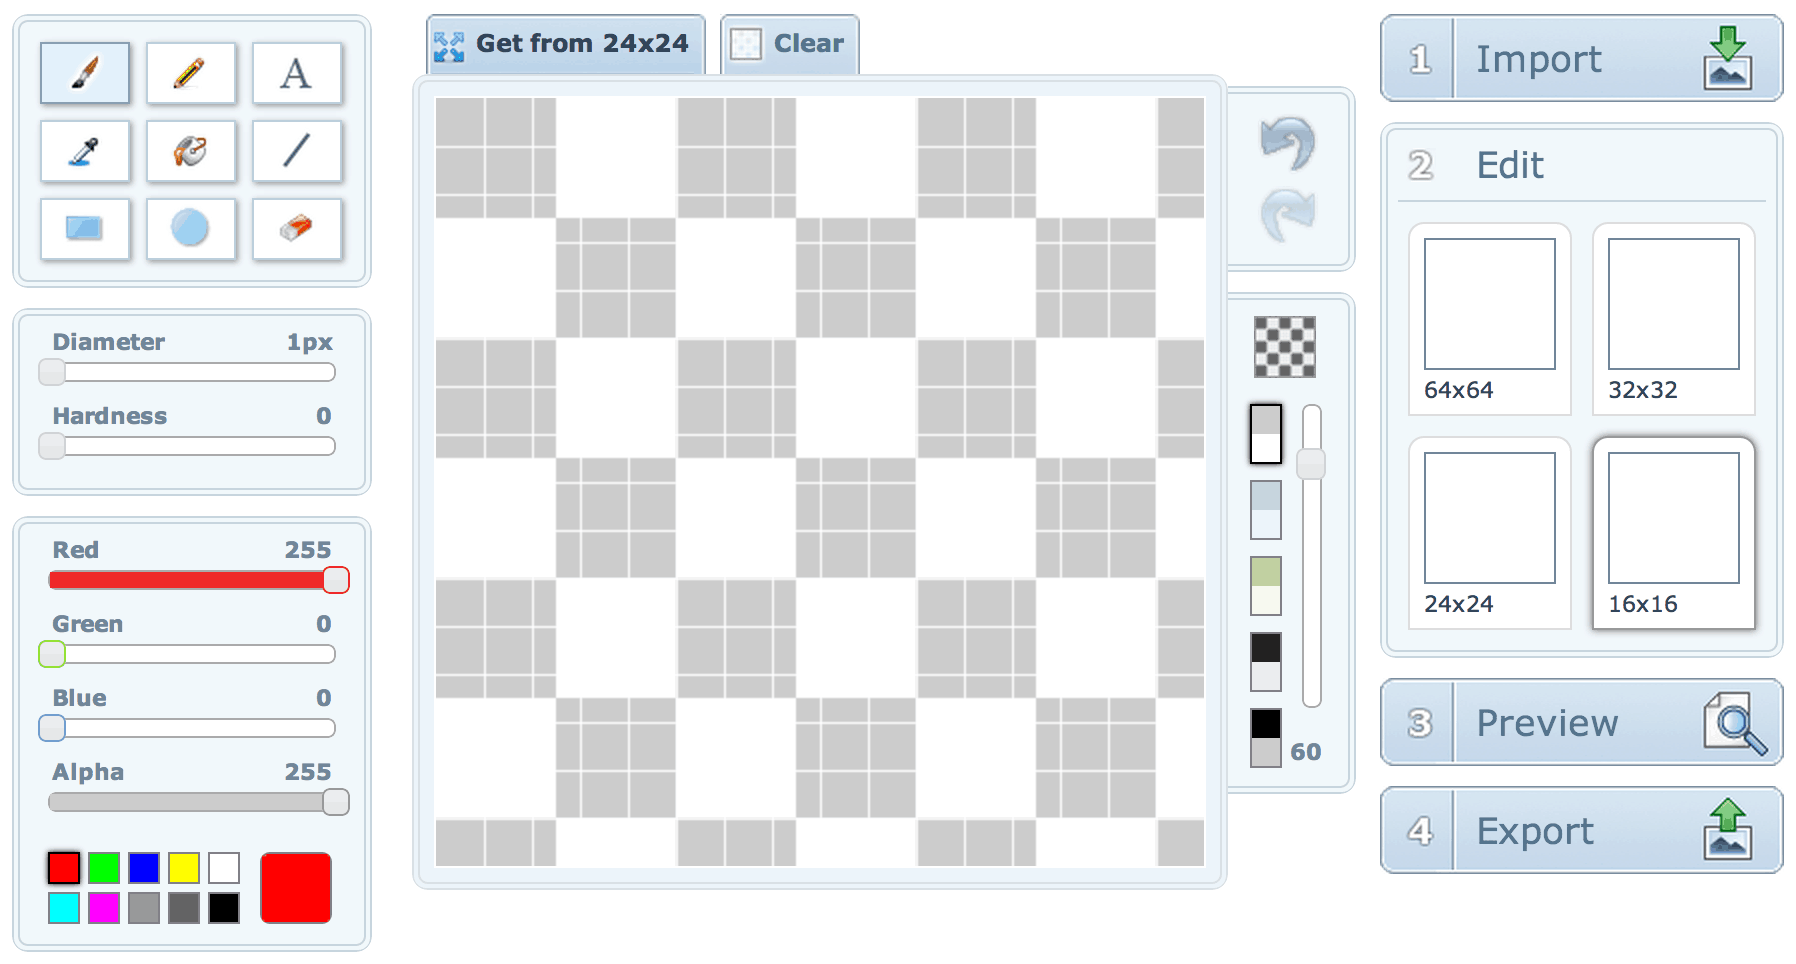
For icon editing, I like to use a bitmap image editing program like Photoshop or Pixelmator. I usually start by resizing my larger logo down to 64×64 pixels because this is the largest favicon size that I’ll need. Then, using the pencil tool, I’ll edit one pixel at a time until the favicon looks crisp. This is an extremely tedious process and could take an hour or two, but it produces the best results.
Once I’m happy with the 64×64 version of the icon, I’ll go through the same process to create versions at 32×32, 24×24, and 16×16. Here’s what each size is for:
- 64×64 – Safari Reading List and Windows site icons
- 24×24 – Pinned site in IE9
- 32×32 – High DPI or “retina” displays will typically use this size
- 16×16 – Most commonly used size by browsers like IE, Safari, Chrome, and more
You might find that resizing the 64×64 version to these smaller sizes is enough, but often there will be more pixel-level editing involved. Keep in mind that you can include alpha transparency in these images if you’d like to do so. This used to be an issue, but almost all browsers in use today will support transparency in a favicon.
Saving a Favicon
Once you’re done editing your icons at each of the various sizes, save each one out to a transparent 24-bit PNG file. In Photoshop, you can do this using the “Save for Web” feature accessible via the File menu.
Next, you’ll need to combine all of your PNG images into a single ICO file. Alternatively, you could use a combination of PNG and ICO files, but often times even Safari and Chrome will use the ICO file anyway. In my opinion, it’s easiest to just stick with the single ICO file. ICO isn’t a commonly used file format, but there are several tools that can help you out. I like to use X-Icon Editor for this. It’s a free web-based tool and it makes it easy to upload your images into the appropriately sized slots and then export a single ICO. Just follow the numbered steps on their site. If you’re a crazy person, you could even try using their pixel-based editor, although I find it easier to make edits in a more robust tool like Photoshop.

X-Icon Editor makes it easy to upload your PNG images and then export a single ICO file in just a few steps.
Adding a Favicon to a Website
Once you’ve exported the ICO file from a tool like X-Icon Editor, you’re ready to get it into your website. Make sure you’ve named the file favicon.ico and then simply drop it into the root of your website, right next to index.html and the other usual bits. In other words, you should be able to go to http://example.com/favicon.ico and see your favicon.
Almost every browser will look in the root directory of your website for a file named favicon.ico and it will use it automatically. Don’t put it into a folder, otherwise the browser won’t know where to look for it. Also, for cross-browser compatibility, it’s actually best to not add any HTML or link elements that point to the favicon’s location. This technique will work for pretty much every browser all the way back to IE6.
Refreshing a Favicon
For some odd reason, browsers love to cache favicons. You might find that you want to make changes to your favicon during site development, but when you upload the new ICO file, the browser won’t let go of the old one! This can be incredibly frustrating if you don’t know how to fix it.
In these situations, you can add some temporary HTML that points to the favicon’s location. In addition, you should add a short and meaningless query string to the end of the favicon URL, like this:
<link rel="shortcut icon" href="http://example.com/favicon.ico?v=2" />
This will make the browser think it’s a unique URL, so it will be forced to pull in the new assets. Once the favicon has been refreshed, remove this HTML completely. If you need to make additional changes to the favicon, simply use the same technique and increment the version number “v” in the query string each time. That way, the URL will always be unique and will make the browser pull the new version. Again, just be sure to remove this code before deploying your site.
Creating More Complex Favicons
This article is just meant to be a fast and easy path to creating favicons that will work nearly everywhere, but there’s always more to learn when it comes to web design and development. If you really want to dig deep into making more complex favicons, touch icons for iOS home screens, icons for Windows metro tiles, Google TV icons, and so much more, I highly recommend you read this favicon cheat sheet. It’s extremely comprehensive, it cites good sources, and it’s perfect for more obsessive designers and devs (I would include myself in that group).

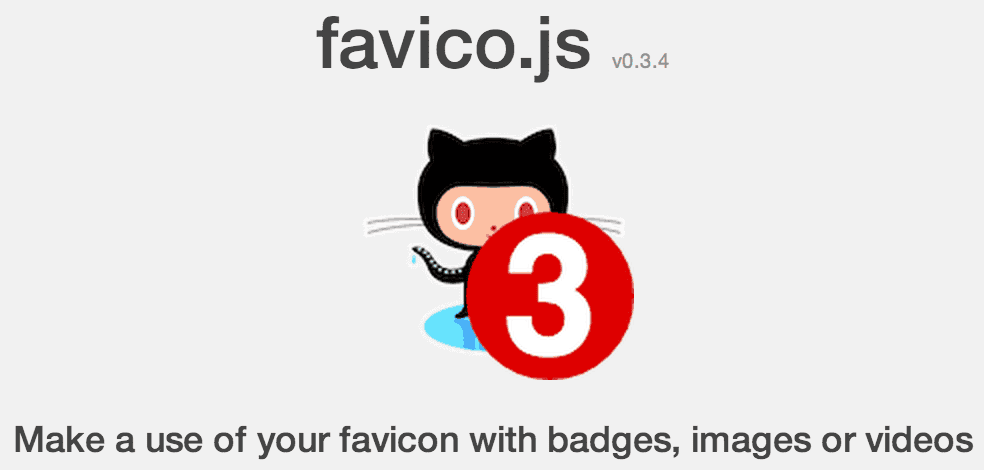
Favico.js allows you to create dynamic favicons that can display numbered badges.
You may also have a need to create dynamic favicons that can change to display a numbered badge. We do this on Treehouse to show students the number of unread notifications. This makes it easy to see your notifications even if the tab is not active. For this, I recommend you check out favico.js which is available on Github. Be aware that cross-browser support isn’t very good just yet, but this can be a nice added feature for browsers that support it.
If you have any additional favicon tips or if you have any questions, please let me know in the comments!