Last Updated on March 19, 2026 by Laura Coronel
Browsers ship with built-in video controls, but they’re intentionally minimal and can’t be styled in any meaningful way with CSS. If you need controls that match your design, support keyboard navigation, or expose additional functionality like playback speed, you’ll need to build your own.
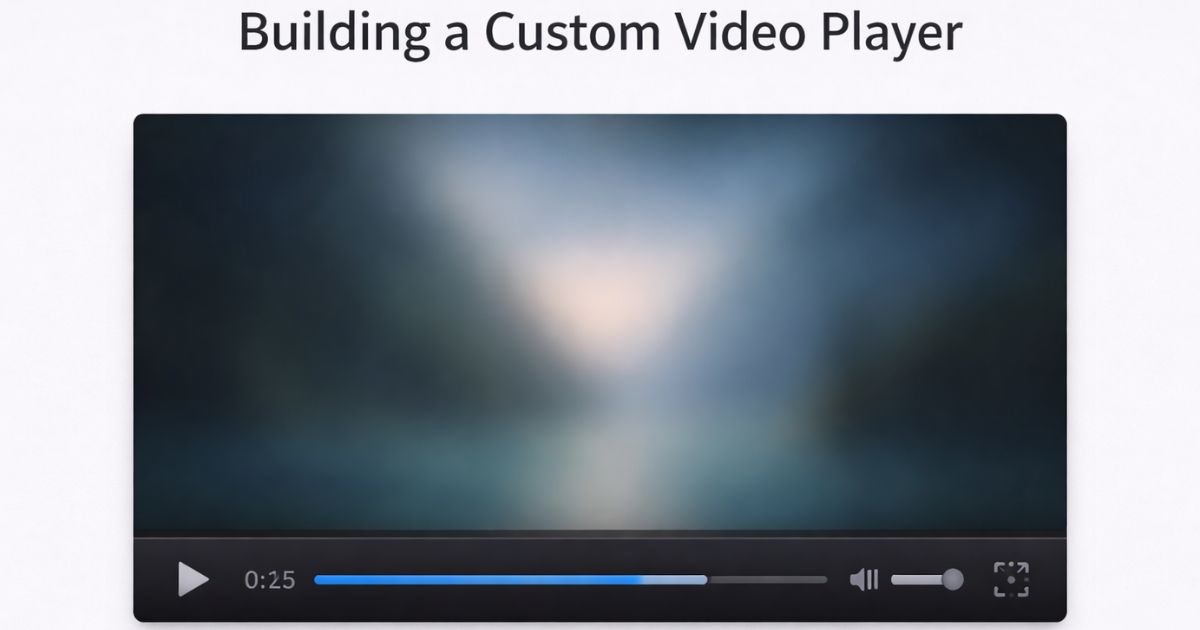
This guide walks through building a fully functional custom video player using the HTMLMediaElement API — covering playback, seeking, volume, fullscreen, and the accessibility requirements that are easy to miss.
Contents
When to Build Custom Controls
Before starting, consider whether you actually need custom controls. The native browser controls are accessible, keyboard-navigable, and require zero code. Build custom controls when you need one or more of the following:
- Visual styling that matches your brand
- Additional controls (playback speed, captions toggle, chapter markers)
- Consistent appearance across browsers
- Analytics hooks on playback events
If none of those apply, use the controls attribute and let the browser handle it.
Setting Up the HTML
Start by removing the controls attribute from your <video> element — this hides the native controls so yours can take their place. A single MP4 source is sufficient for all modern browsers.
html
<div class="video-player">
  <video id="video">
    <source src="videos/my-video.mp4" type="video/mp4">
    <track
      label="English"
      kind="subtitles"
      srclang="en"
      src="captions/my-video.vtt"
      default>
  </video>

  <div class="video-controls" id="video-controls">
    <button type="button" id="play-pause" aria-label="Play">Play</button>

    <input
      type="range"
      id="seek-bar"
      value="0"
      min="0"
      max="100"
      step="1"
      aria-label="Seek"
      aria-valuemin="0"
      aria-valuemax="100"
      aria-valuenow="0">

    <span id="time-display">0:00 / 0:00</span>

    <button type="button" id="mute" aria-label="Mute">Mute</button>

    <input
      type="range"
      id="volume-bar"
      min="0"
      max="1"
      step="0.1"
      value="1"
      aria-label="Volume">

    <button type="button" id="full-screen" aria-label="Enter fullscreen">
      Fullscreen
    </button>
  </div>
</div>
A few things worth noting here:
- The
<track>element surfaces captions for your custom player. Without it, users lose subtitle support the moment you replace native controls. - Every interactive element has an
aria-label. Without this, screen readers announce “button” with no context. - The seek bar has
aria-valuemin,aria-valuemax, andaria-valuenowso assistive technology can communicate its current position.
Setting Up the JavaScript
Create a script.js file and link it at the bottom of your HTML body. Start by getting references to all the elements you’ll need:
js
const video = document.getElementById('video');
const playPauseBtn = document.getElementById('play-pause');
const muteBtn = document.getElementById('mute');
const fullScreenBtn = document.getElementById('full-screen');
const seekBar = document.getElementById('seek-bar');
const volumeBar = document.getElementById('volume-bar');
const timeDisplay = document.getElementById('time-display');
Play and Pause
Toggle playback based on the video’s current paused state. Update the button label and aria-label together so both sighted and screen reader users get accurate feedback:
js
playPauseBtn.addEventListener('click', () => {
  if (video.paused) {
    video.play();
    playPauseBtn.textContent = 'Pause';
    playPauseBtn.setAttribute('aria-label', 'Pause');
  } else {
    video.pause();
    playPauseBtn.textContent = 'Play';
    playPauseBtn.setAttribute('aria-label', 'Play');
  }
});
Also sync the button when the video ends:
js
video.addEventListener('ended', () => {
  playPauseBtn.textContent = 'Play';
  playPauseBtn.setAttribute('aria-label', 'Play');
});
The Seek Bar
The seek bar needs three event listeners working together.
Update the video position when the user moves the slider:
js
seekBar.addEventListener('input', () => {
  const time = video.duration * (seekBar.value / 100);
  video.currentTime = time;
});
Move the slider as the video plays:
js
video.addEventListener('timeupdate', () => {
  if (!video.duration) return;

  const value = (video.currentTime / video.duration) * 100;
  seekBar.value = value;
  seekBar.setAttribute('aria-valuenow', Math.round(value));

  // Update time display
  timeDisplay.textContent = `${formatTime(video.currentTime)} / ${formatTime(video.duration)}`;
});
Prevent stuttering while dragging by pausing during the drag and resuming on release:
js
seekBar.addEventListener('mousedown', () => video.pause());
seekBar.addEventListener('mouseup', () => {
  if (playPauseBtn.textContent !== 'Pause') return;
  video.play();
});
Here’s the formatTime helper used above, which converts seconds into a readable m:ss format:
js
const formatTime = (seconds) => {
  const mins = Math.floor(seconds / 60);
  const secs = Math.floor(seconds % 60).toString().padStart(2, '0');
  return `${mins}:${secs}`;
};
Mute and Volume
Toggle mute and keep the volume slider in sync:
js
muteBtn.addEventListener('click', () => {
  video.muted = !video.muted;
  muteBtn.textContent = video.muted ? 'Unmute' : 'Mute';
  muteBtn.setAttribute('aria-label', video.muted ? 'Unmute' : 'Mute');
  volumeBar.value = video.muted ? 0 : video.volume;
});

volumeBar.addEventListener('input', () => {
  video.volume = parseFloat(volumeBar.value);
  video.muted = volumeBar.value === '0';
});
Fullscreen
The Fullscreen API is well-supported across modern browsers. Use requestFullscreen() directly — vendor-prefixed fallbacks are no longer needed for current browser targets:
js
fullScreenBtn.addEventListener('click', () => {
  if (document.fullscreenElement) {
    document.exitFullscreen();
  } else {
    video.requestFullscreen();
  }
});
Update the button label when fullscreen state changes:
js
document.addEventListener('fullscreenchange', () => {
  const isFullscreen = !!document.fullscreenElement;
  fullScreenBtn.textContent = isFullscreen ? 'Exit Fullscreen' : 'Fullscreen';
  fullScreenBtn.setAttribute('aria-label', isFullscreen ? 'Exit fullscreen' : 'Enter fullscreen');
});
Note: On iOS Safari, requestFullscreen() on a <video> element is not supported. iOS enters fullscreen automatically when the user taps the native fullscreen button. There is no way to trigger this programmatically on iOS.
Keyboard Accessibility
Custom controls don’t automatically inherit the keyboard behaviour of native controls. At minimum, add spacebar support for play/pause:
js
document.addEventListener('keydown', (e) => {
  if (e.code === 'Space' && document.activeElement !== seekBar) {
    e.preventDefault();
    playPauseBtn.click();
  }
  if (e.code === 'ArrowLeft') video.currentTime = Math.max(0, video.currentTime - 5);
  if (e.code === 'ArrowRight') video.currentTime = Math.min(video.duration, video.currentTime + 5);
});
The <input type="range"> element handles its own arrow key navigation natively, so the seek bar will already respond to arrow keys when focused.
Captions
The <track> element added to your HTML earlier will make captions available, but you’ll need a button to toggle them if you want to give users control. Access the text tracks via the textTracks API:
js
const captionsBtn = document.getElementById('captions');

captionsBtn.addEventListener('click', () => {
  const track = video.textTracks[0];
  if (track.mode === 'showing') {
    track.mode = 'hidden';
    captionsBtn.textContent = 'Captions: Off';
  } else {
    track.mode = 'showing';
    captionsBtn.textContent = 'Captions: On';
  }
});
Add a corresponding button to your HTML markup with id="captions" to wire this up.


Sorry. I was unaware that ” ” are not allowed. So I just changed them in ‘ ‘ and everything is working fine.
video::-webkit-media-controls-enclosure {
display:none !important;
}
/*.custom-video-controls {
z-index: 2147483648;
}*/
hide controls in fullscreen
This is simply the best tutorial I have found ever to style Video player, good job! I like this website from now on.
With Me the timeupdate was not working.
In case this is your problem, here is the solution:
video.addEventListener(“timeupdate”, function() {
var value = video.duration * (progressBar.value/100);
video.currentTime = value;
});
Never mind doesnt work, and cant get rid of the post
Whenever I try to drag the seek bar the media file just resets to zero. I have no problem getting the seek bar to update as the file plays. What could be causing this?
[url=http://www.bestevance.com/RogerDubuis/index_3.html]プラダ スーパーコピー,プラダ 財布 コピー,プラダ 新作 財布ブランド財布コピー,ブランド スーパーコピー 財布,プラダ スーパーコピー 財布,シャネル財布コピー,グッチ スーパーコピー 財布,エルメス スーパーコピー 財布,ルイヴィトン長財布コピー,スーパーコピー財布,エルメスコピー財布,各種のブランドはかばんをコピーします偽物ブランド,激安偽物,ブランド財布コピー,エルメス財布コピー,ブランドのコピーブランド財布,ルイ?ヴィトンブランド財布コピー,偽ブランドグッチ財布,D&G,コピー財布偽物,偽物時計コピー,時計,ボッテガベルト,,靴,その他のバッグコピー,ブランド財布激安,ブランド激安販売,偽ブランド激安市場,通販送料無料專門店 ルイヴィトンコピー 児玉店,当店ルイヴィトン コピー 財布、ルイヴィトン コピー バッグ 全MAX80%OFF!期間限定SALE。最短即日発送。送料無料ルイヴィトン コピー,ルイヴィトン コピー 財布,ルイヴィトン コピー バッグ[/url]
[url=http://www.bagkakaku.com/celine_bag.html]エルメス ボリードスーパーコピー.ブランド直営店.ブランド,エルメス激安通販,業界で最高な品質に挑戦します!”ブランドN級品ブランドコピー 代引き,スーパーコピー時計,ブランドN級品,楽天コピーブランド,,偽物ブラン日本最大級の最高のスーパーコピーブランド財布激安代引き販売店,スーパーコピー時計の激安老舗.!国内No.1時計コピー工房,アフターサービスも自ら製造したスーパーコピー時計なので、技術力でお客様に安心のサポー トをご提供させて頂きます。スーパーコピー 代引きN品をご 購入の方は、こちらへ.弊社は正規品と同等品質のコピー品を低価で お客様に提供します!すべての商品は品質2年無料保証です。100%実物写真ですし、品質が完璧です!”スーパーコピーブランド財布激安 偽物財布激安コピー ルイヴィトン財布偽物,偽物財布コピー[/url]
[url=http://www.brandiwc.com/brand-62-copy-0.html]財布コピー、バッグコピー、腕時計コピー、ベルトコピー靴コピーネックレスコピー、手帳コピー、小物コピー、SS品、N品、価格激安、品質の保証,2015人気ブランド偽物,歓迎光臨楽天★送料無料(日本全国)典雅気質!シャネルバッグCHH67723(*^^*)11月シャネル手作り新作(*^^*)時流の先端快適美品!シャネルブーツCH783283四季向け「 シャネル靴」最高な選択!ブランドコピー 代引きコピーブランド 代引きスーパーコピー 代引きスーパーコピーブランドバッグルイヴィトン コピーシャネル コピー[/url]
[url=http://www.ooobag.com/index.html]弊社は海外安心と信頼のプラダ 時計 コピーです。2015 新作が満載!皆様を歓迎して当店をご光臨賜ります。ロレックス時計コピー,パネライ時計コピー,ウブロ時計コピー ,ブライトリング時計コピー,IWC時計コピー,フランクミュラー時 計コピー,ショパール時計コピー,フェラーリ時計コピー,グラハム 時計コピー,ハリー ウィンストン時計コピー等。サイトは世界一流ブランド コピー 専門店です。ぜひ一度当店の商品をお試しください。驚きと満足を保証致します。ご利用をお待ちしております。[/url]
[url=http://www.msnbrand.com/brand-copy-IP-12.html]2015ブランド財布コピールイヴィトン財布コピー,シャネル財布コピー,グッチ財布コピー,エルメス財布コピークロエ財布コピー,ブラダ財布コピー,ブルガリ財布コピー,ドルチェ&ガッバ―ナ財布コピーバレンシアガ財布コピー,ボッテガ.ヴェネタ財布コピーロレックス時計コピー,ブルガリ時計コピー,フランク ミュラー時計コピーシャネル時計コピー,カルティエ時計コピー_オメガ時計コピー,IWC時計コピールイヴィトン時計コピー,オーデマ ピゲ時計コピー,ブライトリング時計コピーコピーブランド、ブランド激安、人気ブランドの販売、通販、オークション、新作のスーパーコピーブランドコピー、韓国スーパーコピー、ブランド激安、偽物ブランド、ブランドバッグ、激安かばん、ルイヴィトン偽物、財布激安.商品は全く写真の通りです。[/url]
[url=http://www.brandiwc.com/brand-3-copy-0.html]最も美しいスーパーコピー,超格安ブランド時計コピー激安通販専門店!ブランド品に憧れて、予算オーバーし、諦めなければならないことがありましたか。スーパーコピー品が一番いいチョイスだ思います。少しのお金でも、世界中一番人気を持つブランド品、貴族しか買えない贅沢品がゲットできます。素敵な外観と実用性に優れたブランド コピー バッグ,,スーパーコピー財布,スーパーコピー 代引き,エルメス コピー,ルイヴィトン 財布、ルイヴィトン バッグ、ベルトなどの逸品はお客様に提供します。誰でもブランド品を手に入れられるのは弊社の経営理念です。当店の最大目標はお客様が安心してお買い物が出来き、お客様の頼りになるお店を目指す事ことです。お洒落な貴方はきっとこのチャンスを見逃しなくよ![/url]
[url=http://www.gginza.com/bag/prada/index_4.html]スーパーコピーブランド格安販売店はこちらへ!品々の激安価格に持ったスーパーコピーブランド 代引きの新作はお客様に提供されます。安心、迅速、確実、お客様の手元にお届け致します。★弊社は9年の豊富な経験と実績を持っております。★一流の素材を選択し、精巧な作り方でまるで本物のようなな製品を造ります。★品質を重視、納期も厳守、お客様第一主義を貫きは当社の方針です。★驚きの低価格で商品をお客様に提供致します!★早速に購入へようこそ![/url]
Hey Matt,
could you explain how to attach current time and duration to this?
I have used your method as a complete newbie and have a decent looknig player, so thankyou!
The time and duration would be the icing on the cake!
M.
Hi Matt:
Got a question. How do I adjust the size of the start button to a smaller size on the player view window when th video first loads up.
Mike
Nice tutorial!
You could certainly see your expertise within the paintings you write. The world hopes for even more passionate writers such as you who aren’t afraid to say how they believe. All the time follow your heart.
Hi Matt.
This is a great tutorial and exactly what I’ve been looking for. Can you suggest changes necessary for the javascript if I have more than one video to show on a page? Thank you for any help.
i am using ur code, but not able to find seekbar in firefox browsers…
As u have said i looked up with the jquery-ui slider but exactly i don no how to implement it in ur code.. pls suggest
Is there a way to hijack the requestFullscreen command so it uses a size of 1024×768? Alternatively can we add a new button that will allow the video to be displayed at 1024×768?
Hi Matt,
First off, absolutely excellent tutorial that covers a wide range of techniques that I was looking for. I am working on a custom button and function for my site that should hopefully place a reduced opacity image over the top of the frame and make this function as a button, both playing the video and making it fullscreen at the same time.
I have go so far as to make it look exactly like I want but the function just doesn’t seem to work, would you possibly be able to help with this? If you can find time/would like to, that would be greatly appreciated!
Very usefull! just one question…if i have more than one video in a page, how can i have the controls for all of them?
You could use Javascript to add the markup for the custom controls by selecting all video elements and injecting that code to all of them.
Who is the frog on the picture? I want him as wallpaper 🙂
// this part of the script is to remove native controls
var video = document.getElementsByTagName(‘video’)[0];
video.removeAttribute(‘controls’);
this might work for you.
Unfortunately there’s no way I know of to override the native controls when in fullscreen mode.
to enable the control in fullscreen (chrome) add this:
video::-webkit-media-controls-enclosure {
display: none !important;
}
#video-controls {
z-index: 2147483647;
}
credit: https://css-tricks.com/custom-controls-in-html5-video-full-screen/
But when I fullscreen in IE and Android, doesn’t work #video-controls
Thanks for this it works well in Safari and Chrome. I mamaged to customise it to my needs. BUT I get a problem in Firefox (20.0) the seek bar and the volume bar appear as a numerical readout.
Any suggestions on how to fix this would be very appreciated. It’s such a bonus to have this control over the playback controls that are ugly in most browsers. Thanks
Not all browsers have support for the ‘range’ type on inputs yet.
You might want to take a look at the slider widget in jquery-ui. You can hook it up to do the same thing.
http://jqueryui.com/slider/
There is an issue with slide bars. Even with your download file, the input tag still appear normaly and not as a slider. Could you help me please ? I realy woud like to use your work wich is pretty good !
The demo uses the ‘range’ input type which is not yet supported in all browsers.
If you’re building something that’s going out into the wild you might want to use the slider widget in jquery-ui instead.
http://jqueryui.com/slider/
I have followed everything you have done .The problem is that the video is not play at all even when you click the play button.Help
Can you post your code on http://codepen.io/
I’ll take a look and see if I can figure out why it’s not working for you 🙂
Thanks Matt 🙂 This helped a lot 🙂