Guil Hernandez
writes on August 28, 2017
Setting up the tools to develop a React application can be intimidating and time-consuming. There are lots of moving parts. For example, setting up Babel to transpile JSX into browser-ready code, and configuring Webpack to bundle your project assets. Fortunately there’s a quicker and easier way with Create React App!
Create React App is a tool (built by developers at Facebook) that gives you a massive head start when building React apps. It saves you from time-consuming setup and configuration. You simply run one command and Create React App sets up the tools you need to start your React project.
In this article, you’ll learn how to get your React projects up and running quickly, with the Create React App.
Installation
Create React App provides a modern build setup for your React apps in no time. To get started, you’ll need to install Create React App globally. Open your Terminal or console and run: npm install -g create-react-app
Then you create a new React project with the command create-react-app, followed by the name of your project. For example: create-react-app my-app.
Running NPM commands
Running the command installs the dependencies needed to build your project, and generates the initial project structure. Inside your project directory, you can run several commands (you may also use yarn):
npm startstarts the development server and auto-reloads the page any time you make editsnpm run buildbundles the app into static files for productionnpm teststarts the test runner and lets you test your app with Jest as you build itnpm run ejecttakes your app out of the create-react-app setup, which lets you customize your project configuration
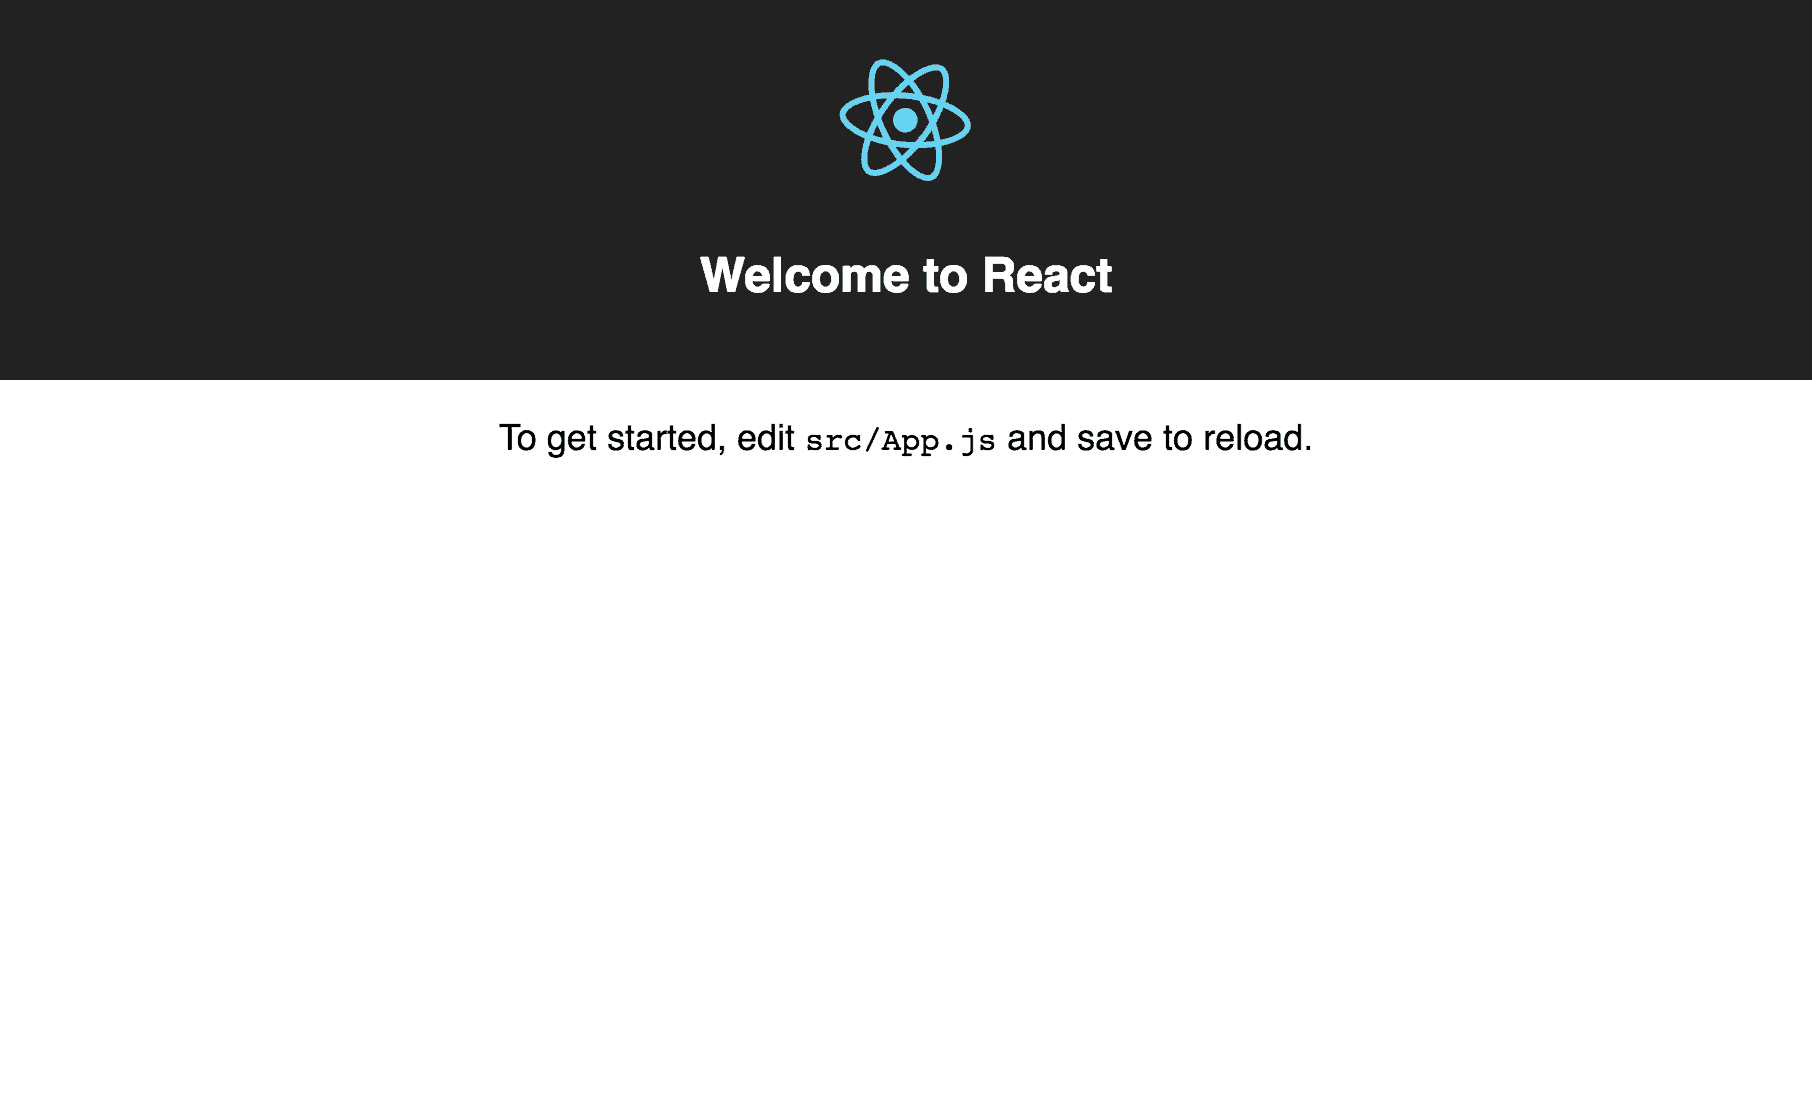
Using the App
Starting the server (npm start) automatically launches the app in the browser on localhost:3000. In addition, the console output displays a LAN address so that you can access the app from a mobile device on the same network.
Create React App uses Webpack and Babel under the hood, but it generates only the files you need to work on your React project. If you’ve built React apps before, you’re not going have access to configuration files for Webpack, Babel, ESLint, etc. That way, you focus on just building your app.
When you create a project with Create React App, it installs the latest version of React and React-DOM, as well as the latest version of react-scripts, a development dependency that manages all other dev dependencies that start, test and build your app.
Default Progressive Web Apps
In production, your React apps can be faster and more reliable than traditional web apps, and provide engaging mobile experiences.
Create React App sets up a fully functional, offline-first Progressive Web App by default. Progressive Web Apps (PWAs) are web applications that use a collection of modern web technologies to provide native app-like experiences on all types of devices. They take advantage of the latest browser features to make your apps more performant, reliable and safe, even send push notifications and work when there’s no internet connection available.
Also read: An Introduction to React Native
Built-in Testing with Jest
The Jest testing framework is already configured when you use Create React App. Jest is used for writing unit tests of your components and logic to make sure that they work as intended.
If you name your files using a filename convention (like .spec.js or .test.js), or if you place your test files inside a __tests__ folder, Jest will find those files and run your tests. For example, the file App.test.js is a simple unit test Create React App sets up to test if the App component renders without crashing.
Running the command npm test launches the test runner in watch mode. This means that every time you save a file, it will re-run your tests, similar to how npm start recompiles your code.
Error Messages
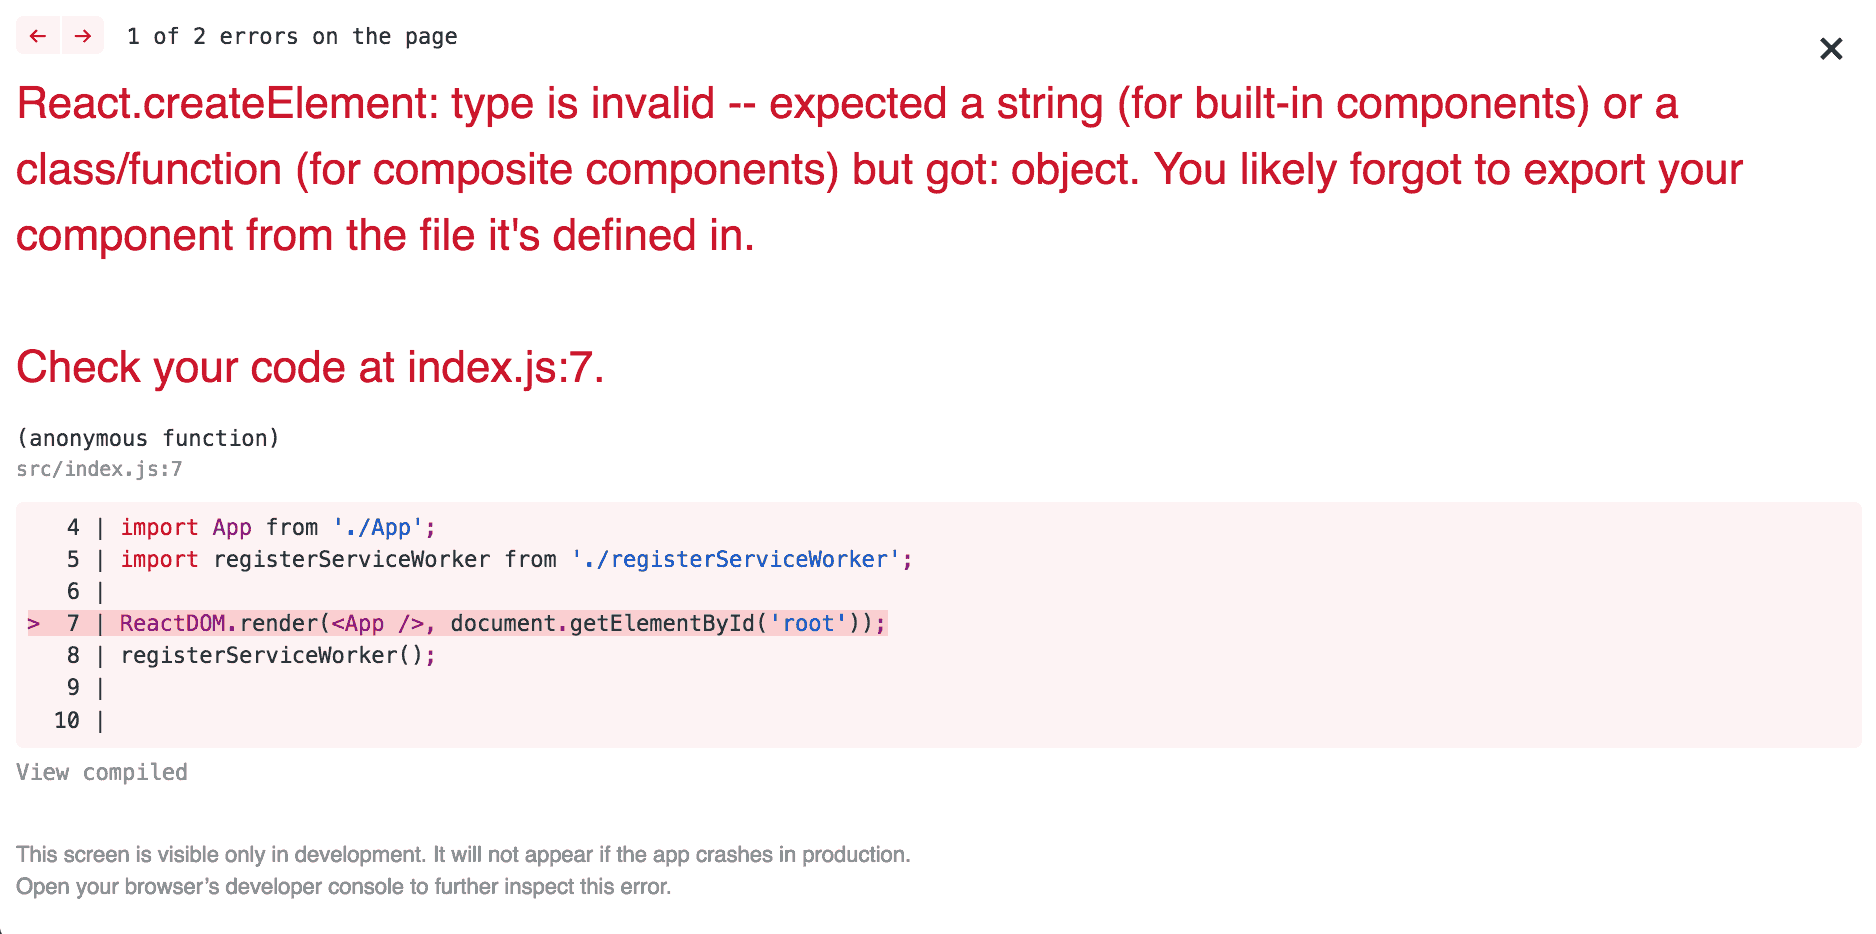
Create React App provides helpful runtime error messages in the browser, in addition to the errors displayed in the console. Any time you make a typo or forget to import a module, you’ll see a compilation error. If your app crashes in development and has several errors, create react app will display an error overlay that lets you focus on one error at a time. This is much more helpful than seeing your console flooded with uncaught errors.
Production Build
When you’re ready to create a production-ready build of your app, run the command npm run build and Create React App will generate a ‘build’ folder containing all the static files that can be used on a production web server.
The build command transpiles your React code into code the browser understands (using Babel), and it optimizes your files for best performance. It bundles all your JavaScript files into one “minified” file, and minifies resources like the HTML template and CSS to help reduce download times.
Related Reading: How Much JavaScript Do You Need to Know Before Learning React?
Ejecting
When you create a project with Create React App, all the build settings are preconfigured. That means you’re not able to change anything about your build setup. For example, you don’t have access to a webpack.config file. It’s all managed for you by a single build dependency: react-scripts.
But you don’t have to be locked into the build tool and configuration choices of Create React App. You can customize the setup to your liking, by running the eject command. Ejecting gives you full control over the configuration files and dependencies, like Webpack, Babel and ESLint.
Ejecting forks Create React App’s configuration and moves it into your project. After the eject script runs, you’ll see a ‘config’ directory added to your project containing files like webpack.config for dev and production, and a webpackDevServer.config file. The single build dependency in package.json (react-scripts) will be removed from the project, and it will list each individual dependency.
Be careful with this step, because running eject is a permanent action. Once you eject, you can’t go back.
After ejecting you continue building your app as you normally would, and all of the commands (like start, test and build) will still work. But at this point you’re on your own. So you shouldn’t need to use eject in your projects unless you know exactly what you’re getting into. Create React App included the eject feature for customizing a project only when you’re ready for it.
Conclusion
Just like that, you’ll have a React project running on your computer, without having to install any extra dependencies, configure a build tool and create the project structure.
As with most popular development tools, React and Create React App are going to be updated frequently. Be sure to check the React courses and workshops on Treehouse for up-to-date information, and check out the 7-day free trial today.
This post was adapted from the Using Create React App workshop on Treehouse.
Start learning to code today with your free trial on Treehouse.


Small suggestion, include the data of any blog posts somewhere. It helps identify outdated content in our fast-changing development world.
Great Article! I went through the Javascript Fullstack track through the Treehouse program, got my first job over a year ago working on the Front-End of a large jQuery/Node.js/Express/MongoDB app. Now we are converting that app to React.js/Express/PostgreSQL stack, and I am loving it. Glad you guys are pushing some more React stuff out now.